December 8, 2025
A roof estimate sets the foundation for every roofing project. It’s where accuracy, transparency, and trust begin. Yet many contractors still spend hours calculating materials and labor by hand, leaving room for costly errors.
Modern estimating tools have changed that. With digital measurements and structured templates, it’s now possible to prepare estimates that are both precise and consistent.
This guide explains how to create roof estimates that strike a balance between speed and accuracy. You’ll learn the process step by step, see which tools make a difference, and explore best practices used by professionals across the roofing industry.
How to Create a Roof Estimate: Fast, Accurate & Professional Results
A roof estimate is a structured breakdown of the total cost of a roofing project, including materials, labor, removal, waste, and additional services. Creating it quickly and accurately requires a balance of precise measurements, transparent pricing, and professional presentation.
So, whether you work on small residential repairs or full roof replacements, consistency in estimating keeps costs predictable and communication clear. Digital estimating systems now make this process more streamlined and transparent.
Key Takeaways
- A roof estimate is the basis for accuracy, trust, and project control.
- Manual calculations increase the risk of material shortages, cost overruns, and delays.
- Using digital tools for roof measurements and templates ensures consistency across every project.
- Well-structured estimates help homeowners understand value, not just cost.
- The right process combines technology, attention to detail, and clear communication to deliver dependable results.
Ready to simplify your estimating process?
Skip the guesswork and switch to smart, digital estimating with RooferBase- the platform built for precision, consistency, and client trust. See how RooferBase helps contractors quote faster, estimate smarter, and win more jobs.
What Is a Roof Estimate and Why Accurate Measurements Matter?
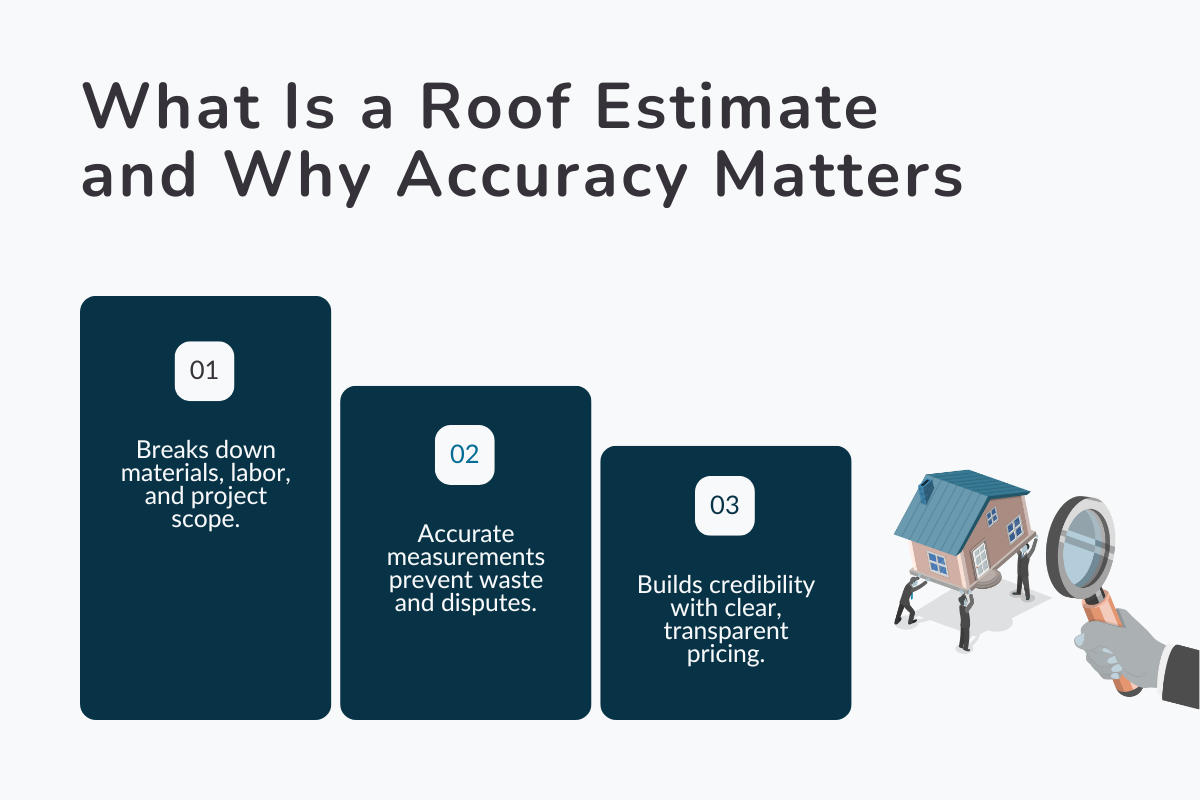
A roof estimate is a detailed outline of the materials, labor, and work required to complete a roofing project. It breaks down every part of the job, from decking and underlayment to flashing, installation, and cleanup, so both the contractor and homeowner understand what’s included.
- Materials: type and quantity of shingles, decking, flashing, etc.
- Labor: expected crew size, project duration, and total hours.
- Additional costs: disposal, cleanup, and permits.
> The Role of Accurate Measurements in Cost and Planning:
Accurate roof measurements are the foundation of any dependable estimate. They determine how much material will be needed, how long the installation will take, and what the total cost will be.
Even minor errors can throw off your material order, cause scheduling delays, and increase project risk.
> How Accuracy Builds Trust Between Roofers and Homeowners
A well-prepared estimate reflects professionalism and experience. It shows that the contractor has inspected the roof, verified that the decking is in good condition, and planned to ensure all materials are properly installed or replaced.
When done right, it protects both sides from disputes and creates a smoother, more transparent project process.
Common Problems with Manual Roof Estimates and Old Shingles
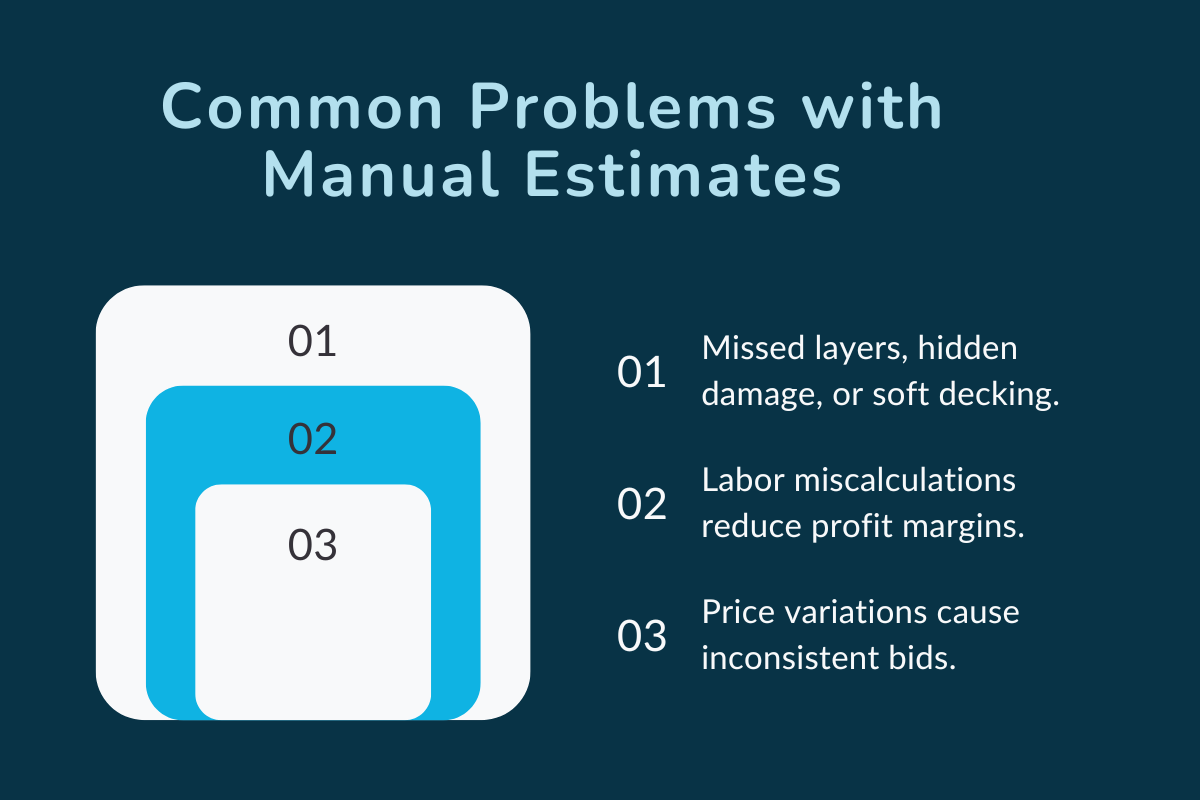
Manual estimating often leaves room for small errors that grow into major issues. When measurements are taken inconsistently, the final numbers rarely align with the actual job requirements.
A. The Hidden Costs of Old Roofs and Multiple Layers
Older roofs make the process even more complex. An old roof might have multiple layers of shingles, hidden water damage, or weakened decking that needs replacement.
These conditions add both time and cost, yet they’re easy to overlook without a proper inspection.
Pro Tip: Always inspect decking and underlayment before submitting a final estimate, what looks stable from above may hide soft spots below.
B. Financial Risk and Missed Labor Calculations
Manual estimates often create financial risk because you may undercharge for labor or forget to include disposal and cleanup fees, reducing your overall profit. When that happens, you end up absorbing the cost difference instead of getting fairly paid for their work.
Pro Tip: Always review your labor breakdown before finalizing an estimate. Include setup, tear-off, and cleanup time separately, it gives you a clearer picture of actual costs and protects your margins during negotiation.
C. Unpredictable Labor and Price Variations
Without standardized templates or automated systems, labor projections are often inconsistent. Steeper roofs, material tear-offs, or extra safety measures can lead to higher labor costs than initially planned.
Pro Tip: When estimating labor, document your crew’s average production rate for different roof types. Having this data on hand helps you adjust estimates for complex projects quickly and keeps labor costs realistic across every job.
The Modern Estimating Process — Step-by-Step
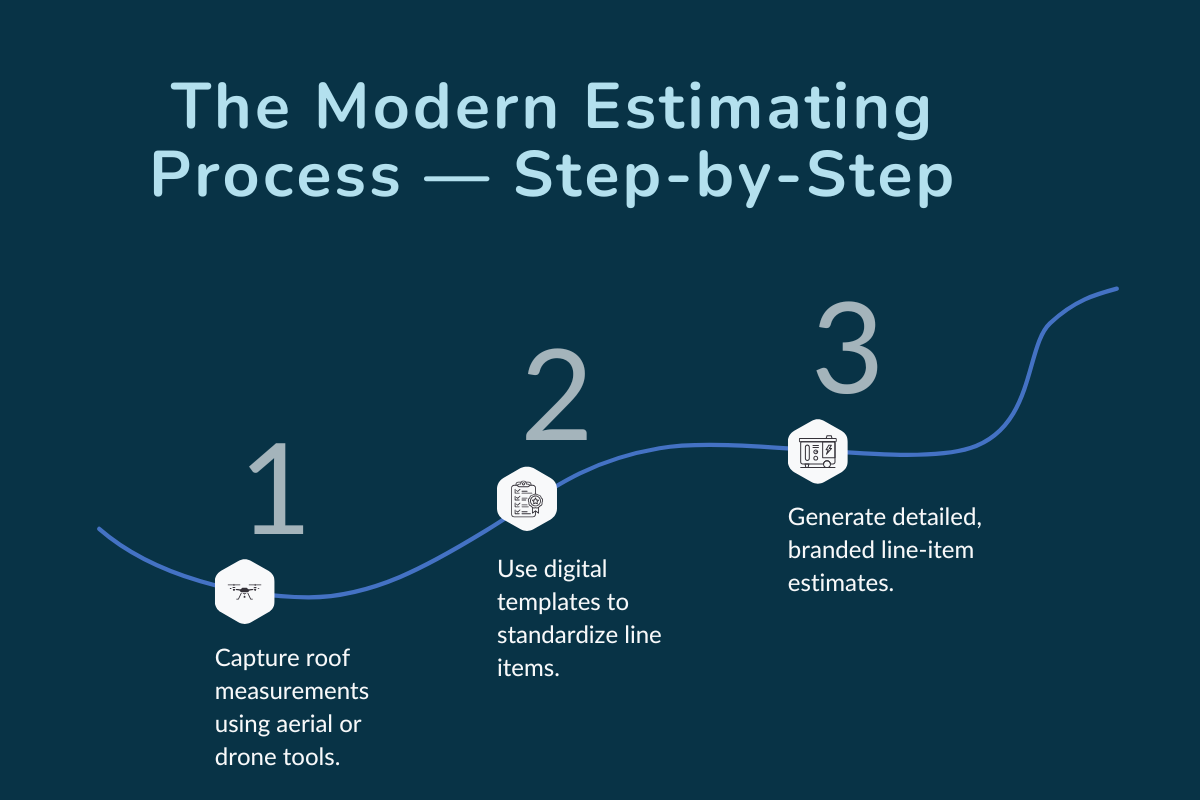
Digital tools have reshaped how contractors create estimates. Instead of climbing roofs, sketching by hand, and recalculating numbers repeatedly, modern platforms now combine aerial data, templates, and automation to produce consistent results.
Here’s how a streamlined process typically works.
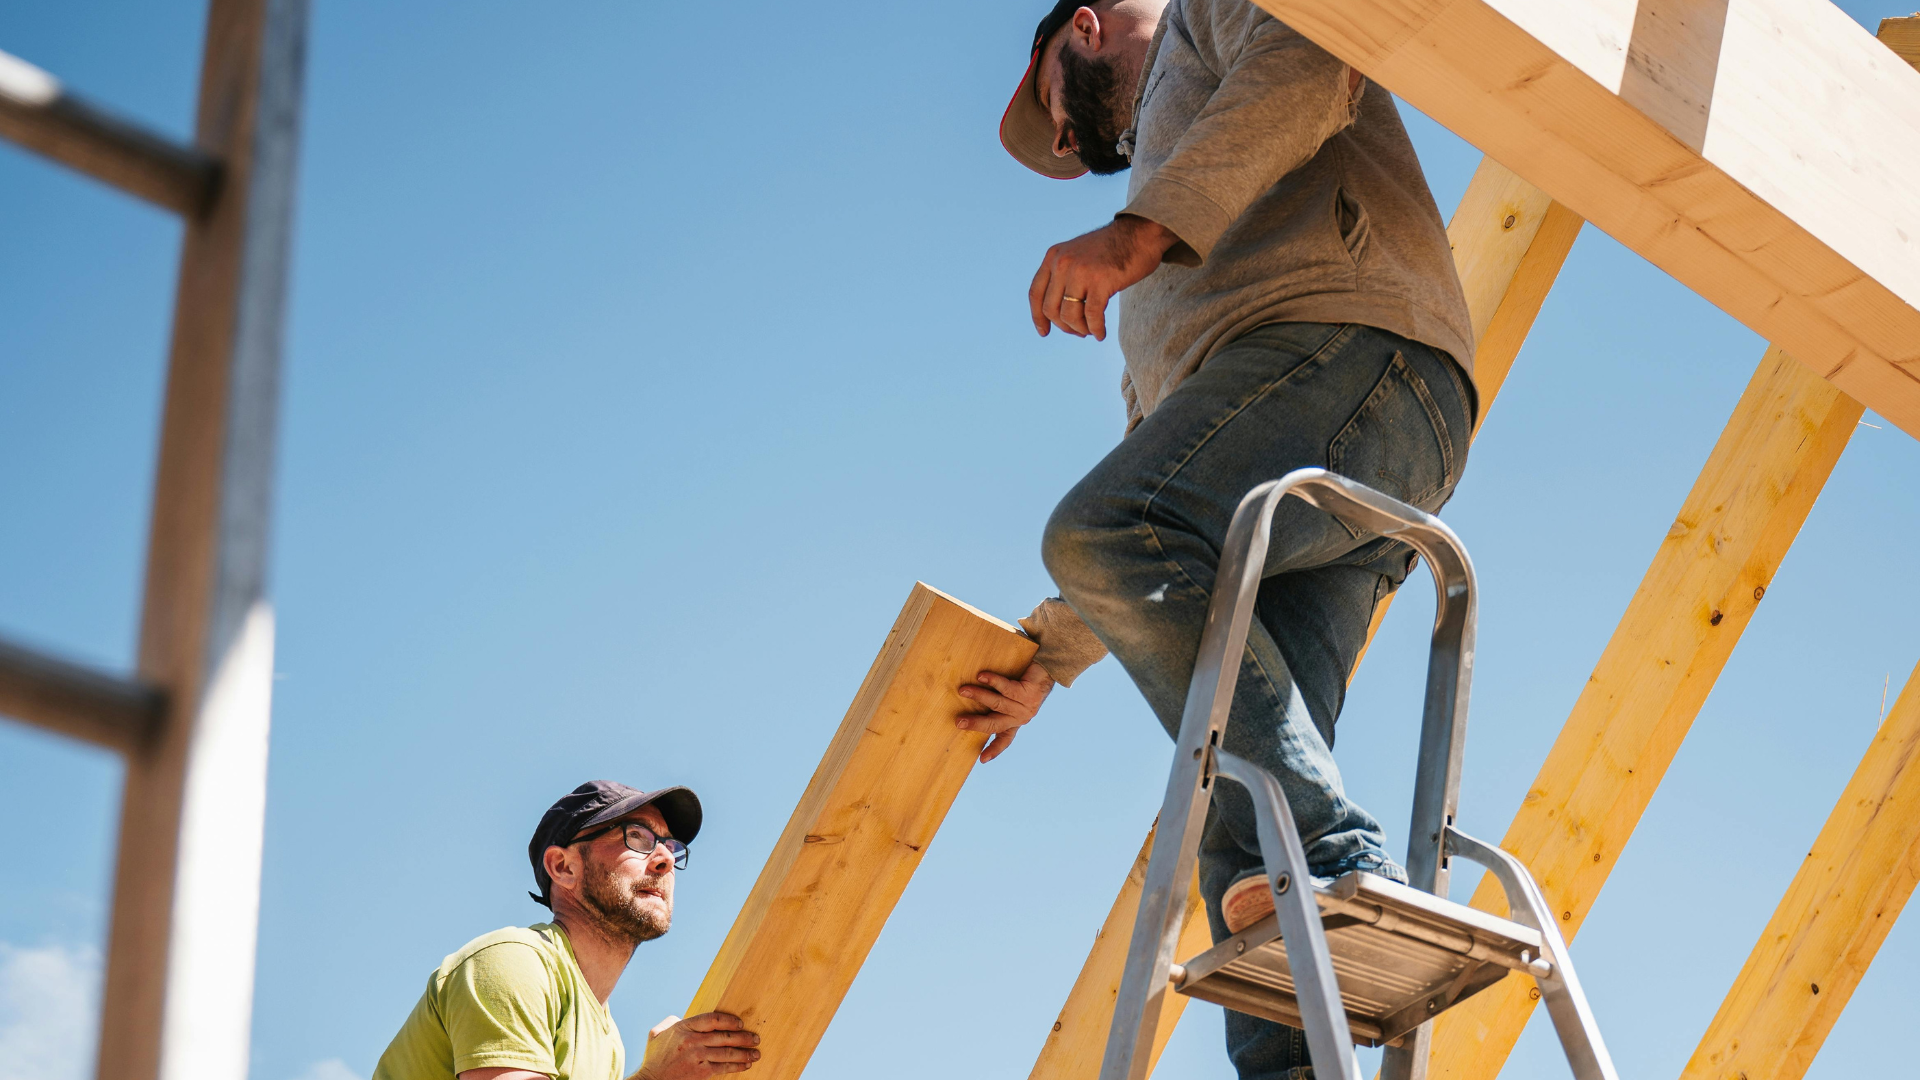
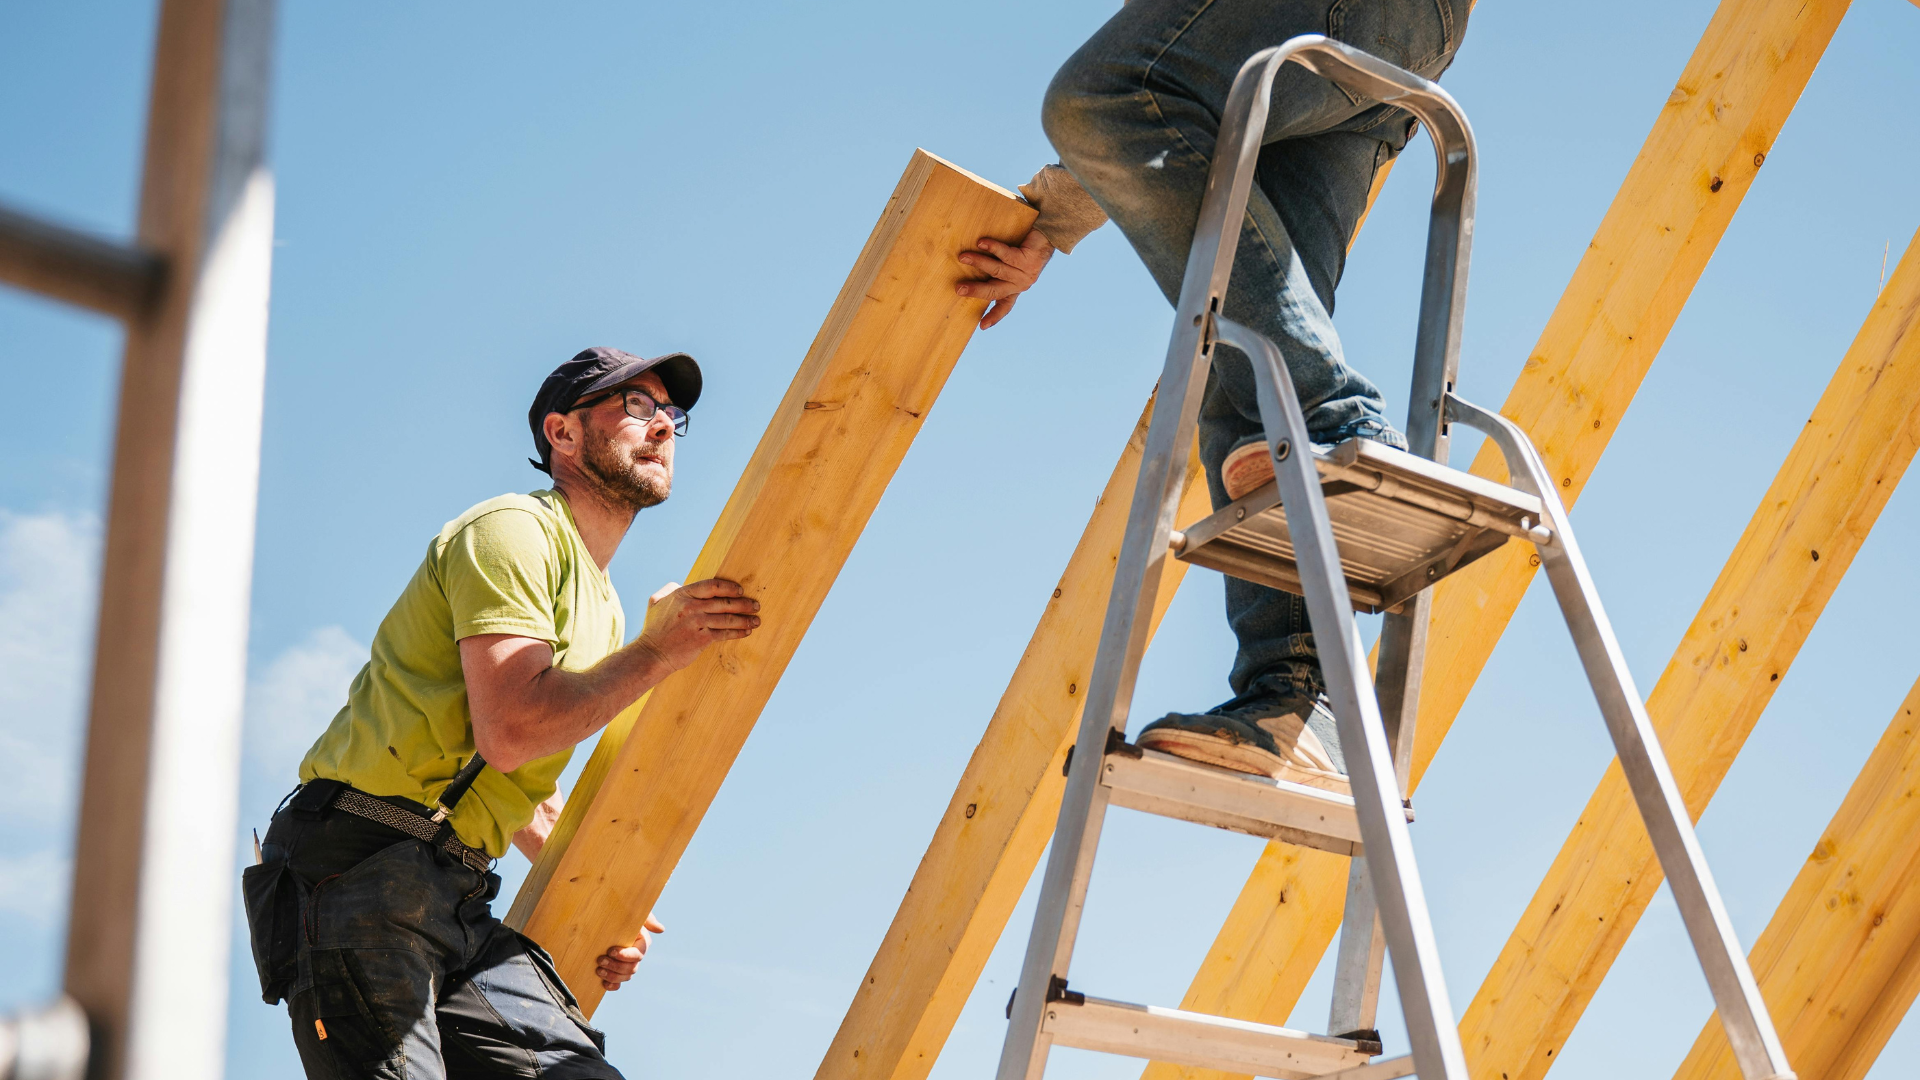
Step 1 — Capture Accurate Roof Measurements
The process begins with gathering accurate roof measurements. Using aerial or drone technology, contractors can now measure the roof area and slope directly from digital imagery.
These measurements form the foundation for every other calculation, including material quantities and total labor time.
Pro Tip: Always cross-check digital measurements with on-site photos. Even precise imagery can miss obstructions like chimneys or pipes that affect coverage and waste factors.
Step 2 — Use Digital Templates to Standardize Line Items
By selecting predefined material and labor entries, you ensure that every estimate follows the same structure, with consistent wording, format, and units.
Many platforms include a built-in roofing calculator to automatically compute costs for shingles, flashing, underlayment, and other materials.
Digital templates also allow you to apply markups or adjustments easily, ensuring your estimate remains competitive while protecting your profit margin.
Step 3 — Generate a Professional Line-Item Estimate
Once all data is entered, the system produces a detailed line-item report. Each section specifies the type of work, quantity, cost, and material specifications. A clear layout makes it easier for homeowners to understand what’s included and why the total price is fair.
Modern estimating software can also integrate with scheduling tools, automatically turning accepted estimates into work orders for your team.
Also read: Roofing Estimating Tips: Getting the Details Right
Essential Tools and Roofing Calculators for Fast Roof Estimates

Modern software now replaces manual spreadsheets with integrated calculators and automation that make every step, from measuring to pricing, faster and more consistent.
Here are the tools that help roofing contractors work efficiently while maintaining accuracy:
A. Aerial Measurement and Mapping Tools
For a roofing contractor, precision begins with measurement, and aerial mapping tools generate reports on roof size, roof type, slope, and structure in just a few minutes.
Many systems now combine satellite imagery with AI algorithms to detect complex roof details automatically. This helps ensure your team always works from verified data instead of rough estimates.
B. Integrated Roofing Calculators and Estimating Software
An advanced roofing calculator simplifies one of the most time-consuming parts of the job: translating measurements into costs.
Once the roof data is uploaded, the calculator automatically fills in material quantities, labor rates, and markup values, producing instant totals for each line item. This minimizes data entry errors and makes estimates far more consistent across projects.
For roofing companies, this also streamlines internal reviews, as team members can verify numbers in one place, rather than comparing multiple files.
C. Document and Proposal Automation Tools
Digital proposal tools allow you to generate branded documents, attach supporting photos, and send them directly to clients for e-signature.
With templates that update automatically, you can save money on administrative hours and reduce the back-and-forth typically required before a project begins.
Pro Tip: Store your most-used templates, standard line items, and pricing updates in one shared system. This ensures every quote reflects your current material costs and keeps your entire team aligned when bidding new work.
Example Breakdown: Roof Replacement Costs for a 2,000 sq. ft. House
Understanding what goes into a roof estimate is easier with real numbers. The following example outlines the typical cost breakdown for a standard roof replacement on a 2,000-square-foot residential home using mid-range materials.
Project Overview
Let’s consider an asphalt shingle roof: one of the most common choices for residential properties due to its balance of cost, durability, and appearance.
This estimate assumes a single-layer tear-off, moderate slope, and standard labor rates in an average-cost region.
Cost Breakdown:
| Line Item | Description | Estimated Cost (USD) |
|---|---|---|
| Materials | Asphalt shingles, underlayment, nails, flashing | $5,200 |
| Labor | Removal, installation, and cleanup | $4,000 |
| Disposal | Tear off debris and haul away | $600 |
| Permits & Misc. | Local permits, insurance, and contingencies | $400 |
| Total | $10,200 |
This is an illustrative example, lower to mid-range for asphalt in average-cost regions; local prices vary.
Interpreting the Quote
For a 2,000 sq ft property, the total cost for a full roof replacement typically falls between $9,000 – $12,000, depending on region, material brand, and complexity. A roof replacement of this size generally takes 2–3 days, provided weather and site conditions remain favorable.
Check out What’s the Average Cost of a New Roof in 2025? For a deeper understanding.
Asphalt Shingles vs Other Roofing Materials: What Impacts Your Roof Estimate
Material choice influences far more than the look of a finished roof; it directly affects cost, installation time, and long-term performance.
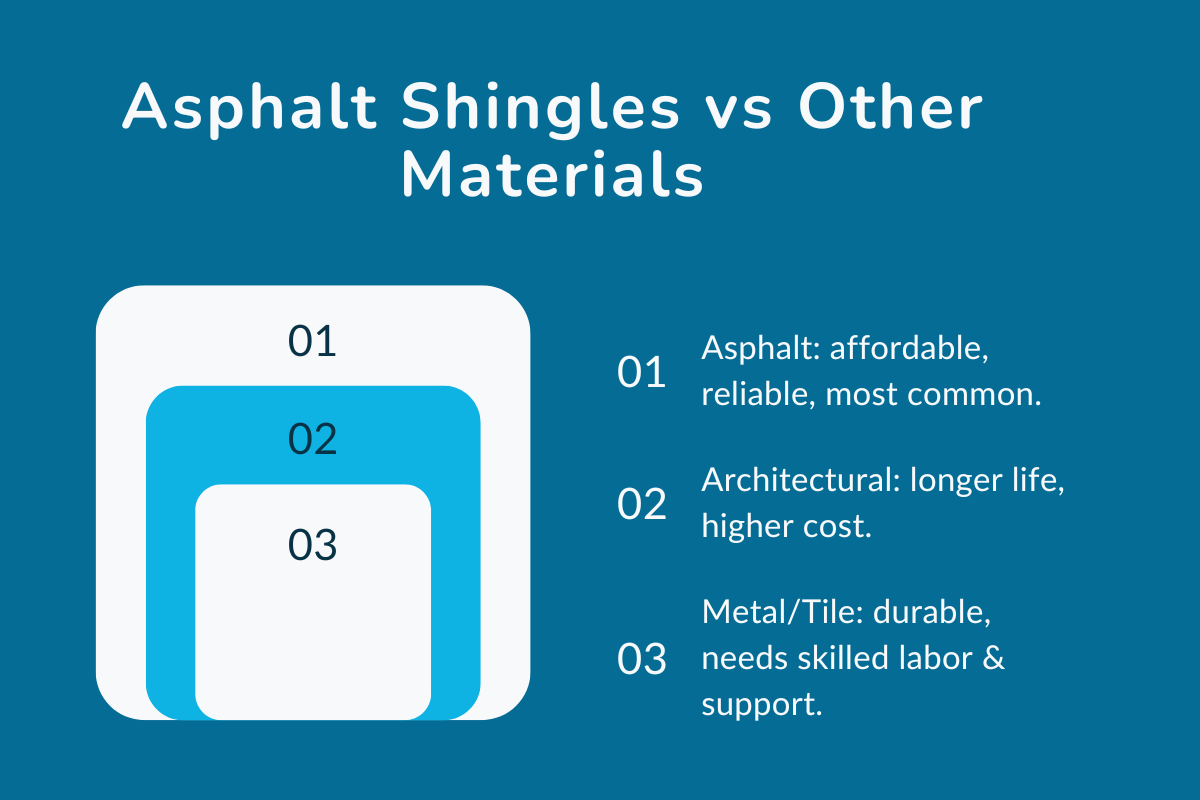
A. Comparing Common Roofing Materials
Each material has its strengths and trade-offs.
- Asphalt shingles remain the most common option because they balance cost, durability, and availability.
- Premium architectural shingles offer longer warranties and better weather resistance but come at a higher price.
- Metal and tile roofs last longer, yet require specialized crews and added structural support, which raises total cost.
When preparing a quote, always match material type to project needs, climate, and homeowner preference. This prevents overestimating or underdelivering based on product performance.
B. How Roof Pitch and Local Building Codes Affect Material Choice
Your roof pitch and regional regulations determine which materials can be used safely and efficiently.
Steeper slopes may need lighter products, while flatter roofs require materials with better water protection. Local building codes may also restrict certain materials or dictate specific fastening systems to meet wind and fire standards.
Additionally, the type of roof's underlayment plays a role in compliance and durability. A high-quality underlayment provides better moisture resistance and can extend the lifespan of the entire roofing system.
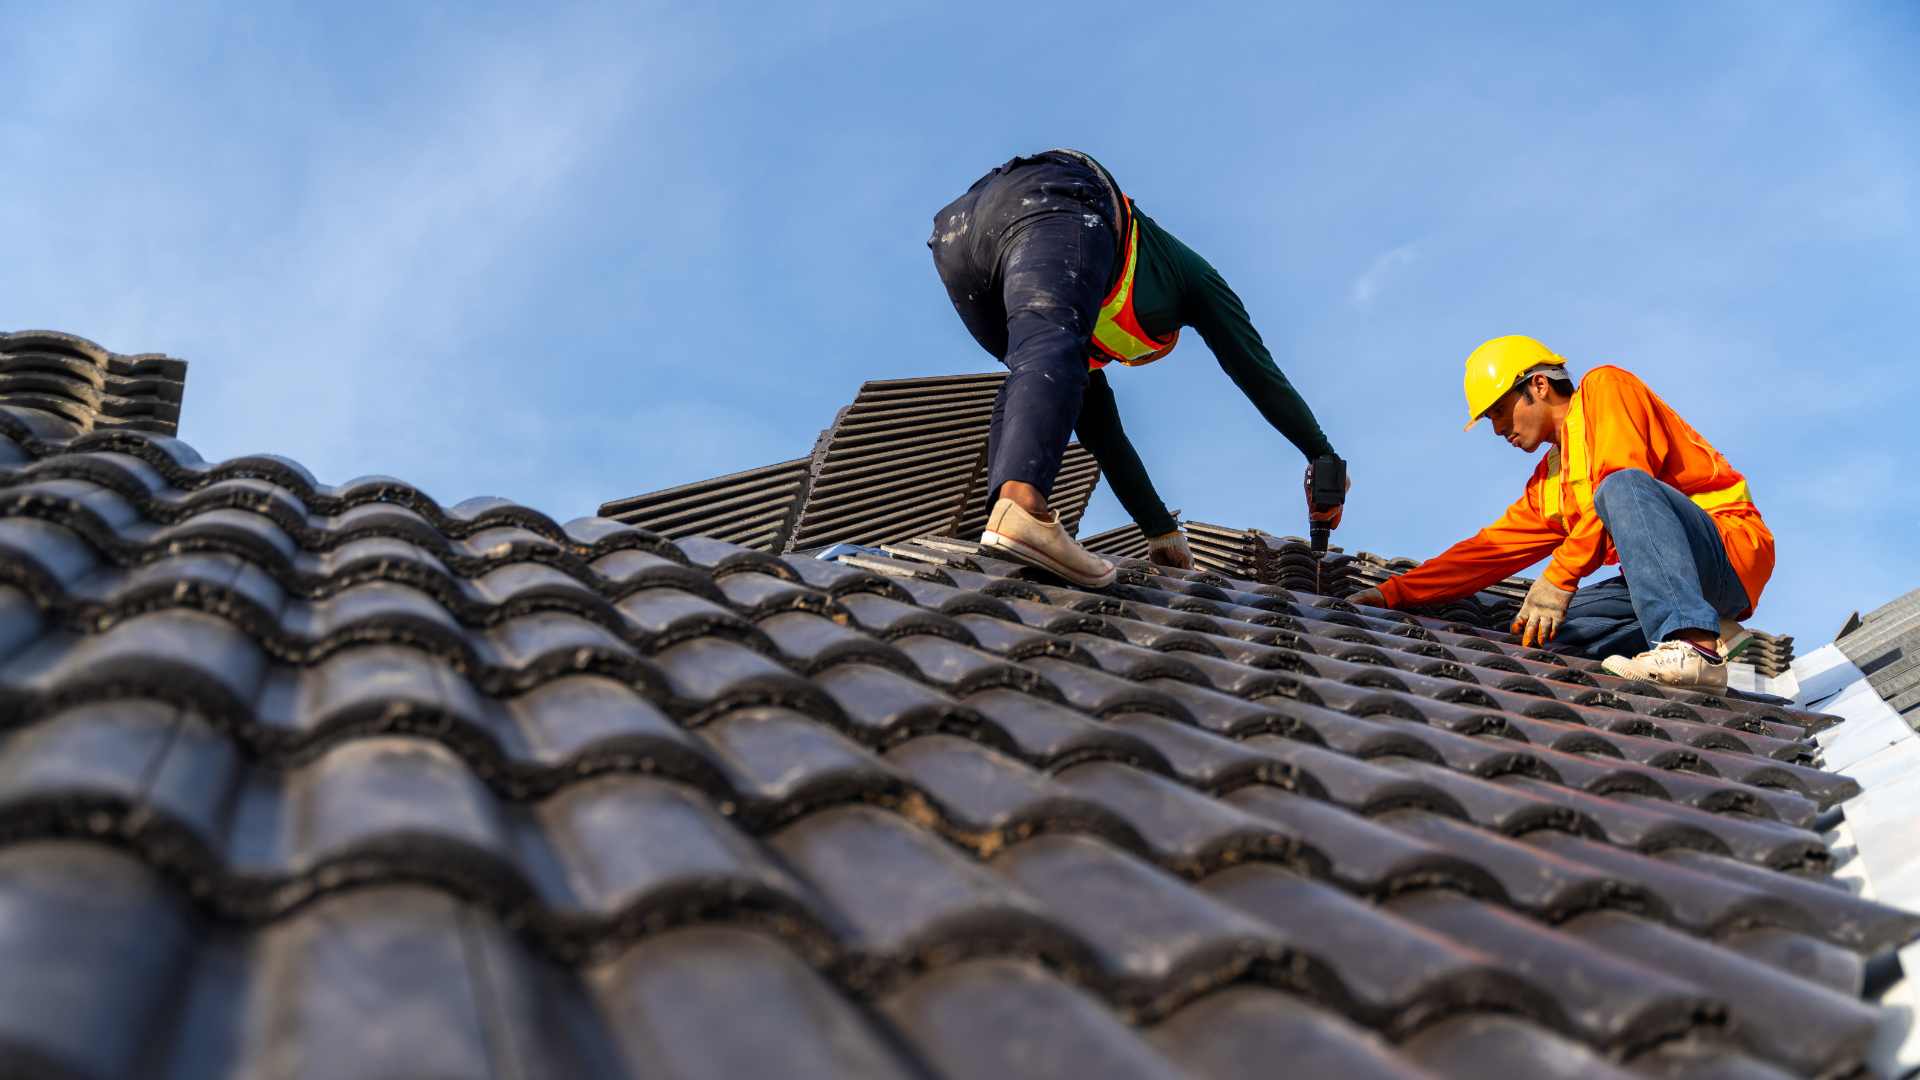
C. Roof Decking and Roof Flashing: Hidden Costs You Shouldn’t Ignore
Two of the most common oversights are roof decking and roof flashing, both of which are essential to the roof’s strength and waterproofing.
1. Roof Decking: The Hidden Foundation
The roof decking forms the base that supports all other materials. If it isn’t in good condition, the entire system is at risk. Common problems include:
- Soft or sagging boards are caused by trapped moisture or rot.
- Warping or cracks from age or repeated leaks.
- Unseen water damage that only becomes visible once shingles are removed.
If the decking needs repair or replacement, costs can rise quickly, especially on older homes where structural reinforcement may be required.
2. Roof Flashing: Protection Around Vulnerable Areas
Roof flashing seals vulnerable areas where water is most likely to enter, around chimneys, valleys, vents, and walls.
Improperly installed or deteriorated flashing can lead to leaks that compromise both insulation and interior finishes. High-quality flashing, when installed correctly, helps prevent leaks and protect the structure long-term.
Also read: Roofing Materials Costs Rising? How to Update Your Estimates Fast
Best Practices for Professional Roof Estimates in Residential Roofing
A professional estimate also shows organization, clarity, and credibility, qualities that separate seasoned roofing contractors from everyone else.
Here’s how to make every proposal consistent and easy to understand for clients.
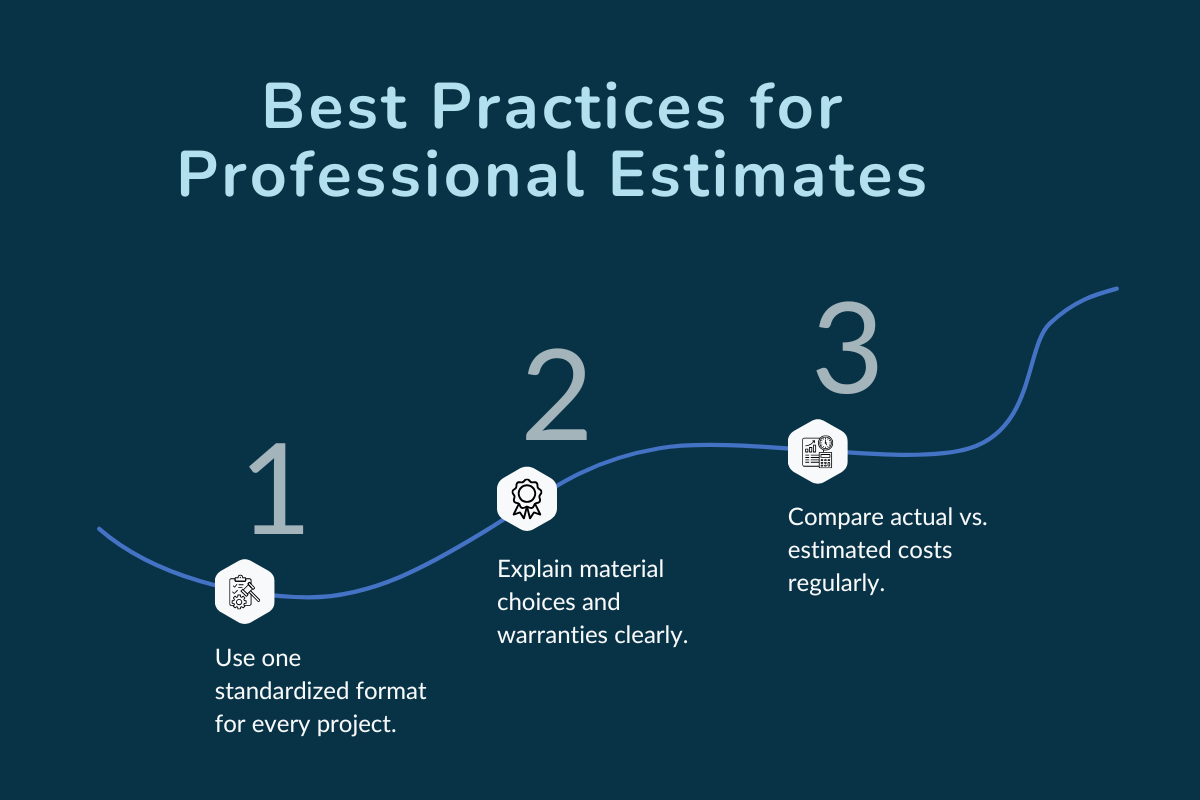
A. Standardize How You Collect and Present Information
Use one clear format for every job, whether it’s a minor repair or a full replacement. This helps maintain consistency across your roof area measurements, cost breakdowns, and documentation.
What to include every time:
- Client and project details (name, address, contact).
- Material specifications and warranties.
- Labor scope, cleanup, and timeline.
- Payment terms and approval section.
B. Communicate Value Clearly — Not Just Numbers
A professional estimate explains why each line item matters, not just what it costs. Show the homeowner that your pricing reflects durability, safety, and skilled workmanship, not just a dollar figure.
Ways to add clarity:
- Use short notes to explain materials or techniques.
- Highlight warranties or long-term maintenance savings.
- Summarize the full project value at the end of the proposal.
C. Review and Calibrate Regularly
Reviewing past projects helps keep your estimates realistic. Compare completed costs against projected ones to spot any recurring gaps.
Regular calibration checklist:
- Compare estimated vs. actual labor hours.
- Track material overages or shortages.
- Note inspection feedback or customer adjustments.
How Roofing Software and Tools Improve Accuracy and Profitability
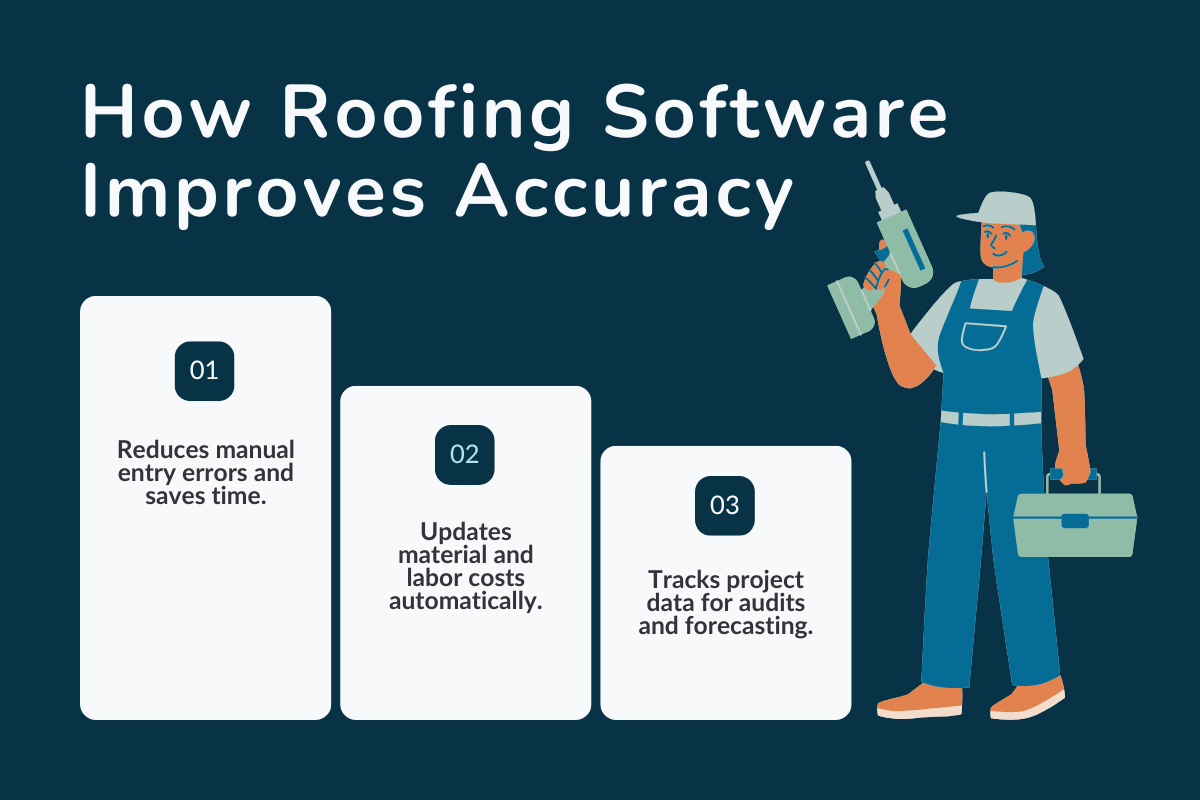
The right digital tools create a transparent workflow that protects your profits and strengthens client trust.
A. Why Automation Matters for Roofing Contractors
Manual estimating leaves room for errors and inconsistencies that compound over time. Automated systems eliminate these variables by handling measurements, calculations, and documentation within one platform.
Benefits of automation:
- Instant access to project data and past estimates.
- Fewer transcription errors from re-entering numbers.
- Built-in updates for changing material and labor rates.
Every estimate has a record, timestamp, and user history, which makes internal audits simpler and client discussions easier to resolve.
B. Recommended Roofing Software and Tools for 2026 and Beyond
The best solutions combine measurements, proposals, and scheduling in one ecosystem. While each platform differs, most leading options include:
- Aerial measurement integration for quick roof size and slope reports.
- AI-powered estimating modules that convert data directly into cost breakdowns.
- Client proposal templates that let you send branded, e-sign-ready documents.
- CRM and workflow tracking so leads, estimates, and projects stay in sync.
Modern software like RooferBase, EagleView, AccuLynx, and RoofSnap continue to evolve toward full-service systems where quoting, communication, and follow-ups all happen in one place.
Why Contractors Trust RooferBase for Accurate Roof Estimates
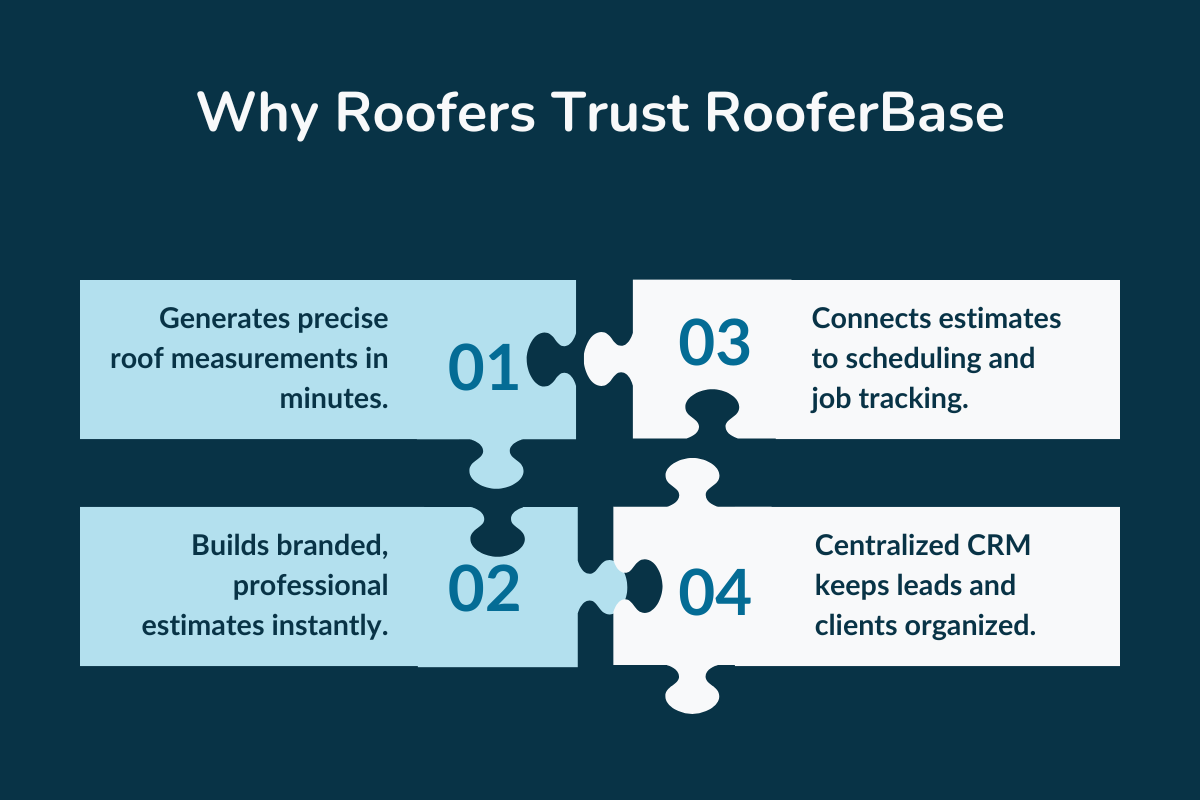
Rooferbase is designed specifically for roofing professionals who want a simpler, more accurate way to manage every part of a project, from lead to invoice.
It combines roof measurement, estimating, proposals, and job management in one integrated platform built to match the pace of modern roofing work.
What RooferBase helps you do:
- Measure with precision: Generate accurate roof dimensions in minutes using satellite and drone imagery.
- Create branded proposals: Build professional, consistent estimates with automated pricing and e-signature options that make client approval faster and smoother.
- Streamline operations: Assign crews, track project timelines, and manage materials in real time, all within a single dashboard.
- Manage leads efficiently: Capture and follow up on client inquiries through a built-in CRM, keeping every opportunity organized and on record.
By bringing these capabilities together, Rooferbase gives you the accuracy of automation with the clarity of a well-structured workflow, helping you quote confidently, deliver efficiently, and maintain client trust on every job.
Wrapping Up - The Future of Roof Estimating
The future of roof estimating is smarter, faster, and more connected. As technology continues to shape how the roofing business operates, automation and data-driven tools will make accuracy effortless, turning what was once manual work into a seamless, predictable process.
Contractors who adapt early will gain more than speed; they’ll build stronger client relationships and a reputation for precision that lasts.
Ready to quote smarter?
Bring speed, accuracy, and professionalism to every project with Rooferbase, the all-in-one platform built for roofers who value precision and client trust. Book your demo today.
FAQs
1. How do you calculate the cost of a roof?
Start by measuring the total roof area and identifying the materials you’ll need. Then, factor in labor costs, disposal fees, and local pricing. A digital estimator or roofing calculator can simplify this process and improve accuracy.
2. What’s the average cost of a new roof?
The cost of a new roof depends on the material, size, and slope. On average, about $7,000–$14,500 for standard asphalt shingle replacements on a 2,000 sq. ft. home, with regional and complexity factors pushing higher.
3. How do I measure my roof size accurately?
To calculate the roof size, measure the length and width of each roof plane (in feet), then multiply them together and add the results to find the total square footage. Don’t forget to account for roof pitch; steeper slopes increase total area.
4. What is roof pitch, and why does it matter?
Roof pitch is the slope or steepness of a roof, expressed as the ratio of vertical rise to horizontal span. It affects drainage, material selection, and labor time, meaning steeper roofs often cost more to install and maintain.