February 4, 2026
Roofing estimate accuracy can make or break profitability. Still, the real question is, how do you deliver a fast, accurate roofing project breakdown for a roof replacement without slowing down the entire crew?
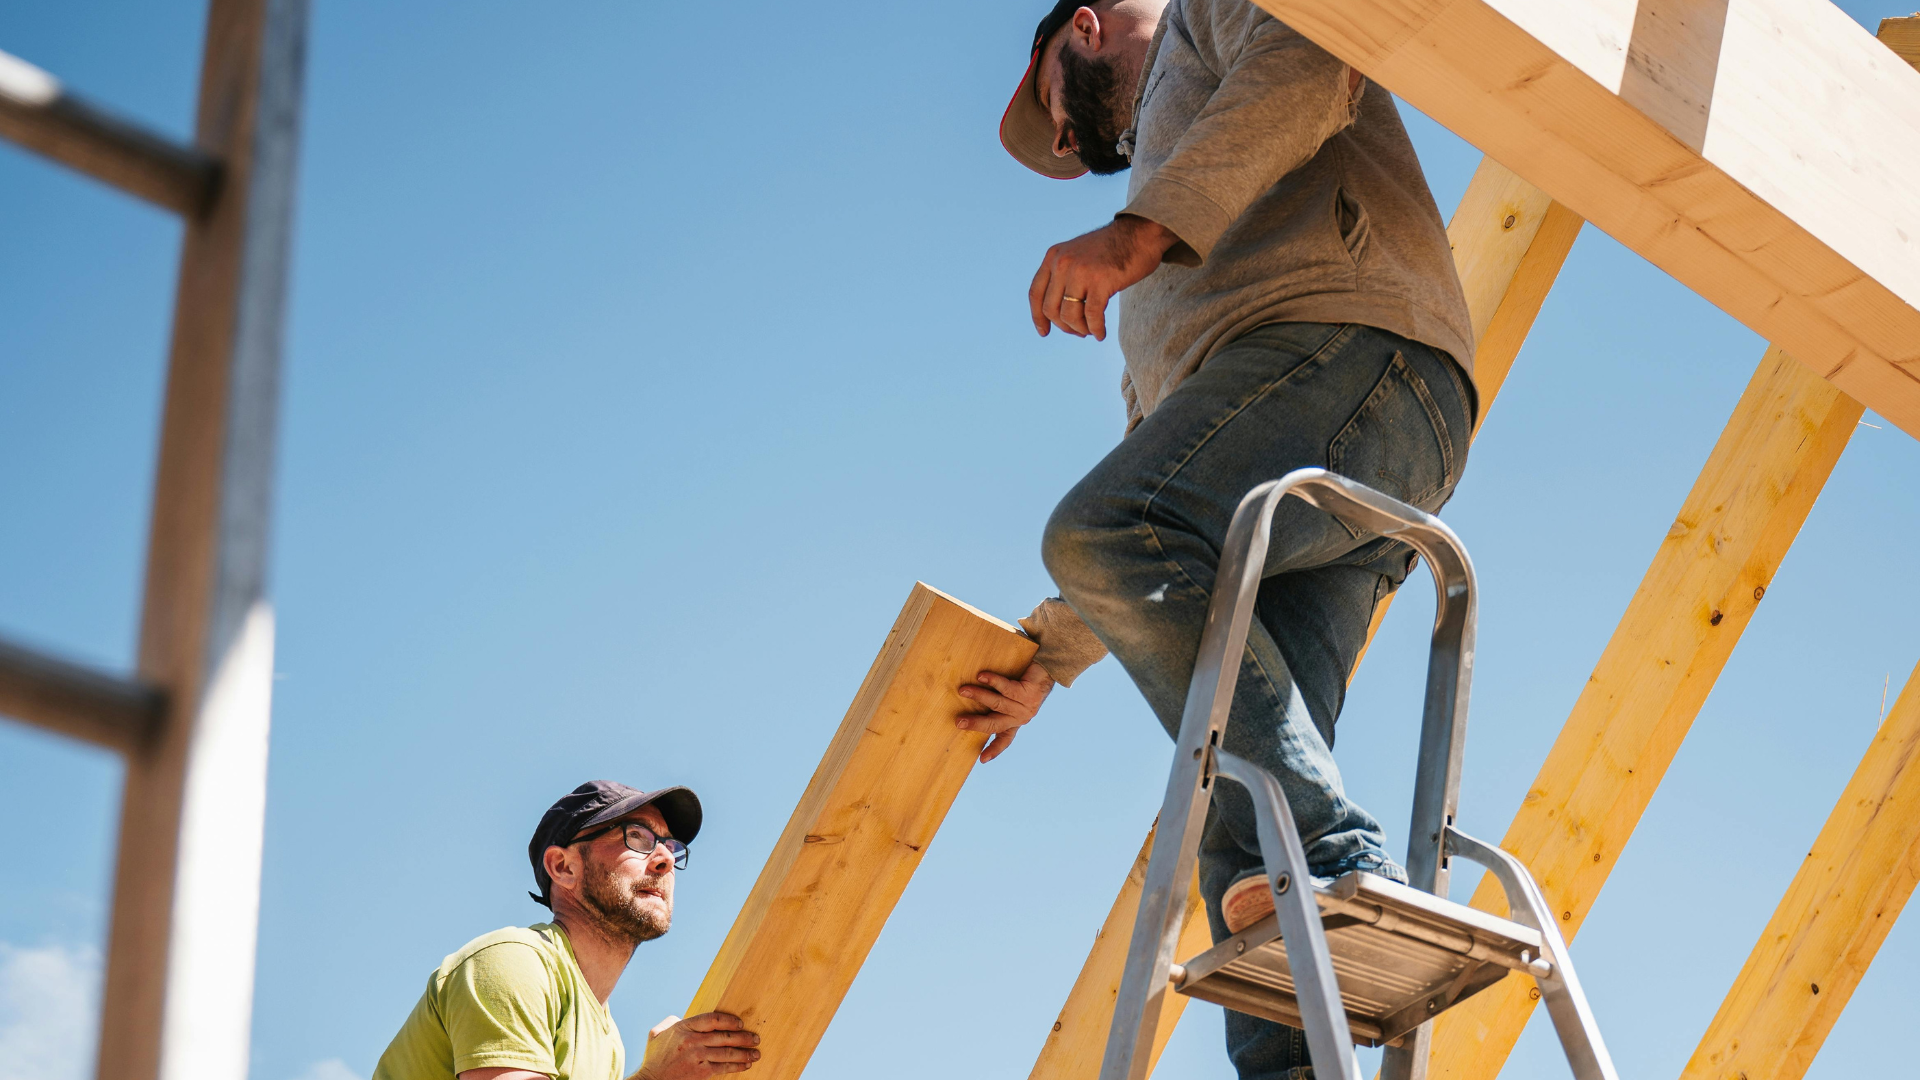
If you’ve managed roofing projects, you’ve seen the chaos firsthand: crews measuring square footage by hand, roofing materials miscalculated, margins squeezed, and bids delayed because numbers are scattered across notes, spreadsheets, and calls.
Therefore, in this guide, we'll explore how to create a roofing estimate that balances speed with accuracy. You’ll understand each step in depth, learn which tools actually help, and see how top roofing contractors keep costs in check.
Roofing Estimate Steps: A Complete Guide to Pricing Roofing Projects
A high-quality roofing estimate helps you accurately charge roof replacement projects with transparency. It also gives homeowners clear details on roofing materials, labor costs, roof pitch, and total square footage.
But reliable estimates are built on precise roof measurements, correct underlayment assumptions, and compliance with local building and structural code requirements.
Missing or miscalculating even one of these elements can lead to cost overruns, rework, or uncomfortable pricing conversations later.
In short, successful roofing companies depend on consistent estimating practices, reliable tools, and a structured checklist that reduces errors, shields profit, and helps customers understand exactly what they’re paying for.
By the end of this guide, you’ll have a clear, repeatable framework for creating roofing estimates that are accurate, transparent, and easier for homeowners to say yes to.
Key Takeaways
- Every roofing quote should include materials, labor, roof pitch, and haul-away expenses to determine the total amount accurately.
- Correct roof area measurements help contractors avoid mistakes when ordering roofing materials and planning a roof replacement.
- The condition of the installed roof, underlayment, structure design, and Structural code guidelines all impact the overall cost.
- Roofing companies can shield profits by accounting for permits, repairs, removal of old shingles, and the homeowner’s location before the job.
- A straightforward estimating process helps homeowners understand what they’re paying for and ensures a smoother roofing task from start to finish.
Want To Create Accurate Roofing Estimates Without the Back-and-Forth?
RooferBase can help you achieve that. Keep your measurements, material costs, and calculations organized in one simple workflow.
Book your personalized walkthrough here
Why Roofing Estimates Go Wrong?
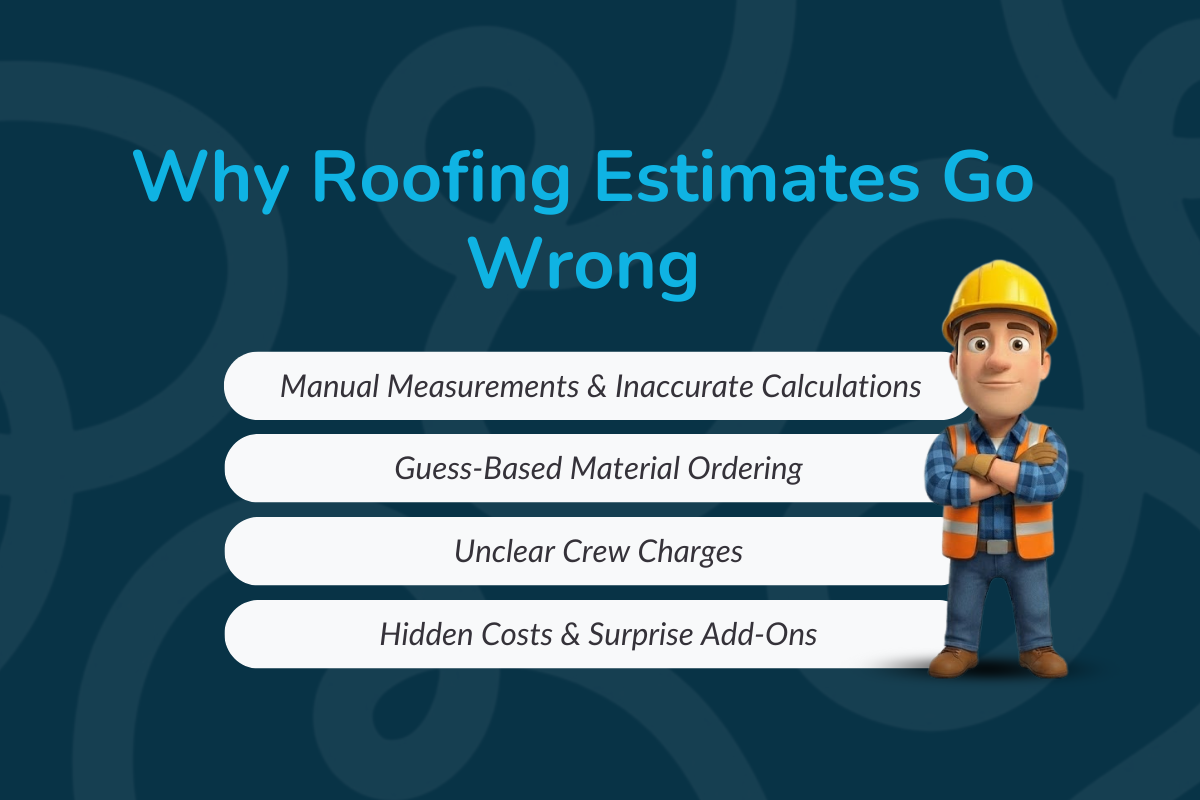
Most problems with roof cost breakdown happen because of missing details, unclear measurements, incorrect materials, or unexpected costs.
These quick breakdowns show where contractors often slip and how a simple checklist keeps every roof replacement project accurate, affordable, and transparent.
1. Manual Measurements & Inaccurate Calculations
Small measurement errors can throw off the entire estimate.
- Rough size calculations often misjudge roof area, slope, and total square footage, leading to inaccurate amounts and higher crew charges.
- If the measurement method isn’t shown, homeowners cannot verify how the numbers were determined.
Checklist Fix: Confirm the estimate clearly lists the roof dimensions, angle, total area in square feet, and the method used (satellite, app, or on-site). Accurate size checks protect the final charge of the new roof.
2. Guess-Based Material Ordering
Missing or unclear material details often cause overbuying or shortages during installation.
- Misjudging roof area, angle, or layout leads to incorrect quantities of shingles or metal panels.
- Estimates often fail to show how the numbers were calculated, making totals hard to trust.
Checklist Fix:
Check that material quantities are appropriately listed, including waste percentages. This ensures that the fit of supplies, the amount, and overall task costs remain predictable.
3. Unclear Crew Charges
Failing to detail labor can lead to confusion and unexpected expenses. This also causes:
- Ignoring roofing style, incline, and waste factors can lead to inaccurate calculations for shingles, metal panels, or the base layer.
- Errors like this increase total project costs and delay completion.
Checklist Fix:
Ensure labor is broken down by tasks, showing what’s included: removal and repairs. Clear crew charges help contractors stay aligned with homeowner expectations.
4. Hidden Costs & Surprise Add-Ons
Lump-sum charges hide what the homeowner is actually paying for.
- Extra work, such as pull-off, cleanup, roof ventilation, or repairs to the current roof, may not be included.
- This makes the quote unclear and unpredictable.
Checklist Fix:
Check that the quote lists tear-off, repairs, permits, and any property-specific extras. Full transparency builds trust and prevents disputes.
Roofing Installation Estimate Checklist: What Must Be Included
A professional quote is more than a number; it’s a full plan for a smooth roof installation. It helps contractors explain the final amount to homeowners while giving themselves a roadmap to plan components, crew charges, and task timelines.
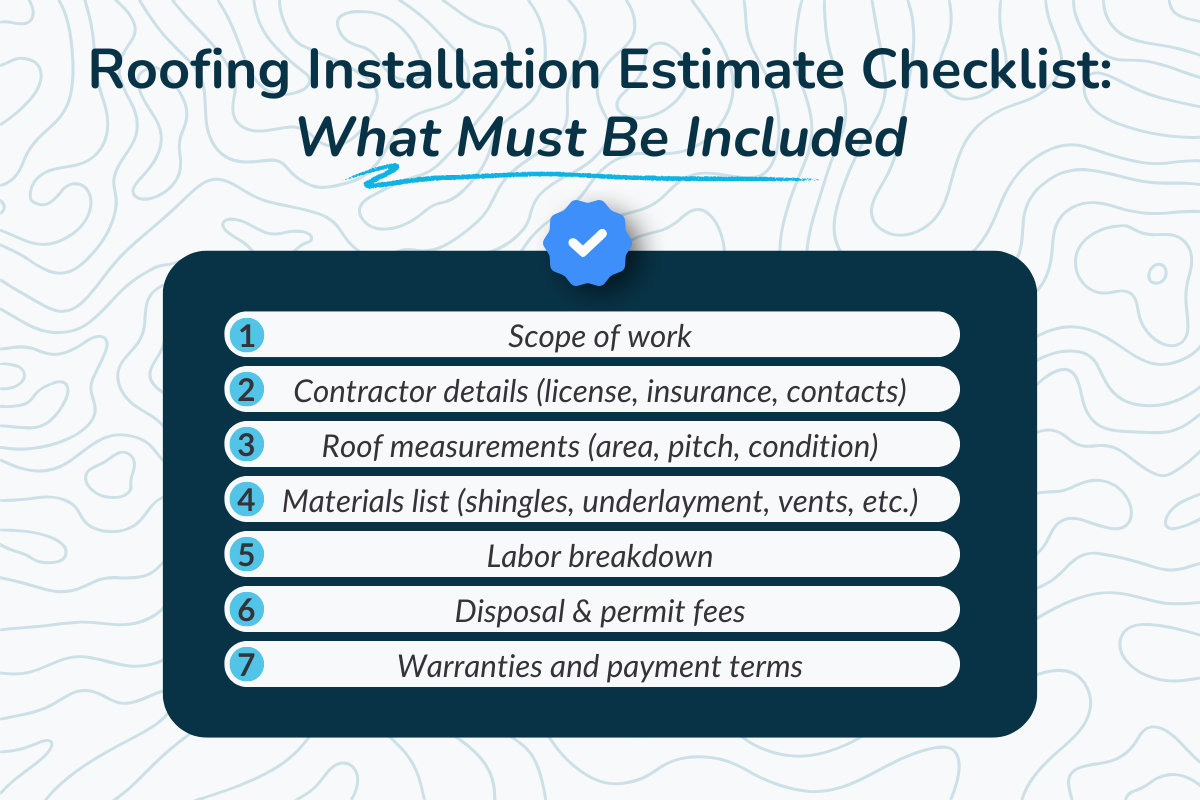
Every thorough quote should cover:
- Check that the project’s definition and purpose are clearly stated, so homeowners understand the exact scope of work.
- Check that the contractor’s details are complete, including the roofing company’s name, license, insurance information, and contact details for transparency and accountability.
- Ensure that roof dimensions and existing conditions are documented, including accurate measurements, incline, total roof area, roof type, and the condition of old shingles.
- Check that all installation items and supplies are listed, including standard shingles, metal panels, underlayment/base layer, roof vents, and an appropriate waste factor.
- Check that crew charges are broken down to cover tear-off, installation, repairs, cleanup, and ventilation work.
- Check that disposal costs and related fees are included, such as haul-away of old materials, permits, regulatory compliance fees, and any region-specific charges.
- Check that all additional terms are outlined, including warranties, payment schedules, estimate expiration dates, and potential extra work.
Quick read worth checking: Roofing Estimates Explained: What Homeowners Really Care About (and What Contractors Should Focus On)
Understanding Roofing Materials: Cost, Performance, and Long-Term Value
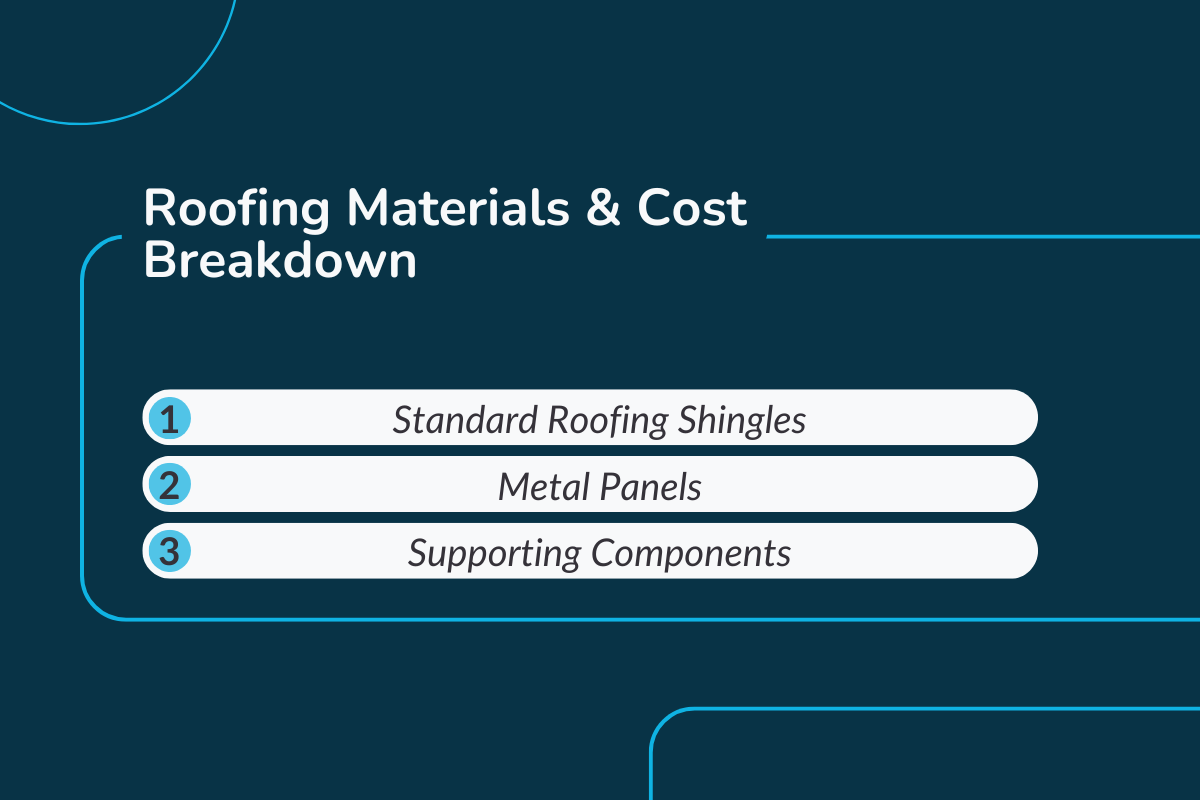
Choosing the right installation supplies is key to an accurate estimate and a successful new roof. The type, quality, and quantity of components directly affect task costs, crew charges, and the roof’s lifespan.
1. Standard Roofing Shingles
Standard asphalt shingles remain the most common and cost-effective choice for residential reroofing projects.
Key considerations include:
- Check shingle type (3-tab or architectural), brand, warranty, starter, and ridge caps.
- Accurate selection determines component costs and shields the overall budget for the new installation.
Example: Choosing architectural shingles with a 30-year warranty and a proper base layer can prevent early replacement and lower long-term maintenance costs.
2. Metal Panels
This is a premium option known for durability and extended lifespan, though it comes with higher material and installation costs.
- Check metal type, gauge, panel profile, finish, fasteners, trim, and flashing.
- Correct selection ensures durability and keeps total task costs justified.
Example: A steep-slope metal roof with aluminum panels and a quality base layer can handle wind and rain, reducing repairs and insurance claims over time.
3. Supporting Components
Includes all installation items needed for a safe, code-compliant roof installation:
- Base layer type, ice and water shield, roof ventilation, flashing, roof vent covers, nails, and sealants.
- Proper installation prevents leaks and extends the roof’s life, saving money on future repairs.
Example: Installing pipe boots, proper flashing, and attic airflow on a shingle roof prevents leaks and extends the roof’s life, saving money on future repairs.
What Goes Into Labor Costs for a Roof Replacement?

Labor is where a roofing task truly comes alive; it’s the hands, skill, and precision that turn roofing components into a long-lasting, weather-ready roof. That’s why a reliable roof application cost should show precisely what you’re paying for and why it matters.
1. Factors That Determine Labor Amount
Before assigning a number, every roofing contractor considers what the task actually requires. A roof with a steep pitch, hidden damage under worn-out shingles, or tricky job-site access can slow the team down and require more safety gear and manpower.
- Crew skill & experience – seasoned contractors complete tasks faster and more accurately.
- Roof pitch, slope & complexity – the steeper or more layered the roof, the higher the labor cost.
- Safety & accessibility – tight spaces, fragile decking, or windy areas increase setup time.
These elements help determine whether your roof replacement is a simple, budget-friendly repair… or a full-scale, labor-intensive task.
2. Regional & Contractor-Based Variations
Labor charge also shifts depending on where you live and who you hire. Some regions naturally have higher labor rates, especially where storms are frequent or skilled roofing crews are in high demand.
- Location-based amount - areas with higher living costs or extreme weather often see higher per-square-foot labor rates.
- Contractor standards - companies with certifications, insurance, and strong reputations charge more, but offer safer application and better compliance with regional construction regulations.
In other words, paying a little more for the right roofing contractor often shields your home, your warranty, and your long-term cost far better than the cheapest bid ever could.
Calculating Roof Pitch and Waste Factor in a Roofing Estimate
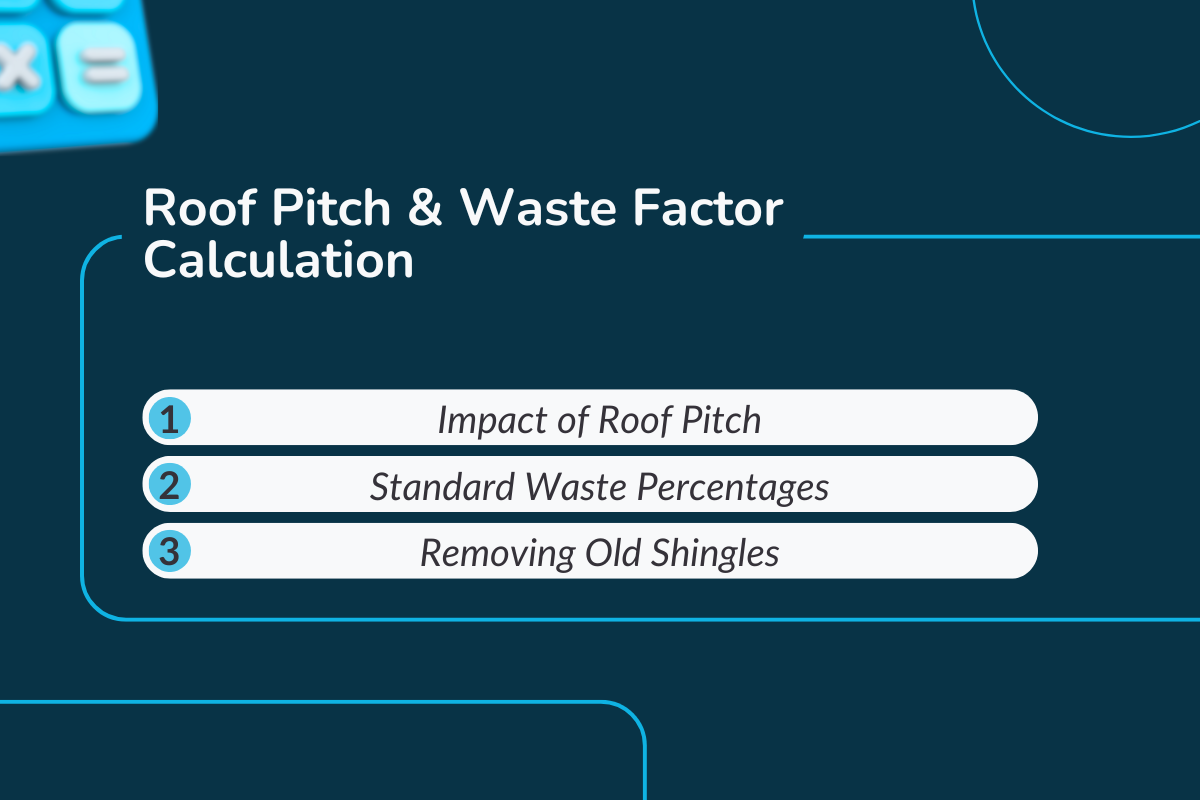
Roof pitch and waste factor might seem like small details on a re-roofing proposal. Still, they have a significant impact on roof replacement costs, labor, and the number of roofing components you actually need.
If these numbers aren’t precise, your entire task can run over budget fast. Here’s how to break it down so clients and contractors can both understand:
1. Impact of Roof Pitch
Steeper roofs aren’t just harder to walk on; they change the entire scope of the job. A high-pitch roof demands more safety equipment, more time, and a more experienced roofing contractor, which naturally increases crew costs.
What affects the amount:
- Steeper pitch = slower application + higher crew expenses.
- More slope means more dimensions to include, which raises the total components and fitting cost.
In a professional quote, the pitch should be clearly listed so homeowners know why their new roof might cost more than the house next door.
2. Standard Waste Percentages
No roof uses fitting items with 100% efficiency. Every valley, ridge, slope, and cut adds waste, and ignoring it is one of the biggest reasons quotes go wrong.
What you should expect:
- Typical waste factor: 10–20%, depending on pitch and layout
- Complex designs or components like metal roofing may require even more cutting
A good roofing quote always shows the waste percentage up front so customers understand how the contractor determined the final component costs.
3. Removing Old Shingles
Pulling off the existing roof is often a bigger task than clients expect. Existing shingles increase disposal costs for fitting items, add weight to the dumpster, and require extra time for cleanup and inspection.
Why this matters:
- More material weight = higher haul-away fees
- Pull-off and cleanup add extra crew charges, especially if decking repairs are needed
If removal isn’t listed clearly, you can almost guarantee a surprise charge later, so your checklist should always confirm it’s included.
Example Of Roofing Estimate Breakdown
A precise roofing quote should read like a roadmap, simple, transparent, and easy for clients to trust. Here’s how a well-structured breakdown usually looks when you’re pricing a roof replacement.
1. Sample Pricing Structure
A good quote separates every high cost so homeowners can see exactly what they’re paying for. Whether you’re using asphalt shingles, metal roofing, or upgrading the base layer, each line should make sense at a glance.
What a clean breakdown includes:
- Installation items: shingles, underlayment, ventilation, flashing, pipe boots
- Labor: pull-off, fitting, and cleanup
- Waste factor: extra shingles needed based on roof pitch and layout
- Haul-away costs: removal of existing shingles and debris
This kind of transparency builds trust instantly, no surprises, no guesswork, just a clear picture of the total cost.
2. Small vs. Large Roof Differences
Not all roofs are the same. A small, simple roof might take only a day, while a larger one with a steep pitch or difficult access can increase labor costs and the number of components.
What actually changes the charge
- Larger roof area = more components + more labor hours
- Complex layouts or tricky access can slow the crew and raise overall task cost
A great quote explains why the amount shifts, so they understand the value, and fitting teams avoid back-and-forth calls.
Many pricing issues come down to overlooked details—this guide breaks them down step by step: Roofing Estimating Tips: Getting the Details Right
How to Read & Compare Roofing Contractor Estimates?

Not all roof job quotes are created equal. Some are detailed and transparent, while others leave you guessing about labor, components, or the final roof replacement cost.
Here’s how contractors can ensure their quotes are clear and help homeowners understand the value, avoiding risky assumptions.
1. Must-Have Details in a Proposal
A trustworthy roofing contractor lays everything out clearly, so homeowners know what’s being installed, what they’re paying for, and how the task will be completed.
Look for these essentials:
- Itemized list of roofing components (asphalt shingles, underlayment, ventilation, flashing, etc.)
- Labor breakdown included rooftop venting work and cleanup
- Waste factor included based on roof pitch and design
- Timeline, warranties, and haul-away details so homeowners understand how the roof will be installed and protected
If these details are missing, you’re not looking at a finalized estimate; you’re looking at assumptions.
2. Red Flags to Watch For
Some bids look attractive on the surface but hide major issues that can cost homeowners money.
Be cautious if you see:
- Unclear amount or missing scope details (no mention of existing shingle tear-off, haul-away costs, or underlayment)
- No warranty or a vague “standard coverage” statement
- Unusually low bids, which often mean cheap materials, skipped steps, or unlicensed labor
A solid contractor’s proposal protects the home, the budget, and avoids disputes with homeowners; anything less is a risk.
What to Do After Getting Roofing Estimates: Next Steps for Homeowners
So you’ve got your rooftop fitting quote in hand… now what?
Before a homeowner chooses a roofing contractor, here’s a simple step-by-step process that contractors can provide guidance on to avoid surprises and ensure transparency.
Step 1: Check Your Written Breakdown Side-by-Side Before Choosing Anyone
Ever notice how two professionals covering a team can quote totally different amounts for the same rooftop? That’s exactly why comparison matters.
When reviewing each proposal, look for:
- Precise dimensions and rooftop area measurements
- Material types (asphalt shingles, pipe boots, etc.)
- Labor costs, including higher crew charges for steep rooftop pitches or complex slopes
- Waste factor, haul-away costs, and old rooftop layer pull-off
- Installation details: drip edge, flashing, and underlayment
- Compliance with local building codes and required permits
If a contractor skips any of these? That’s your first red flag.
Step 2: Use the Checklist to Spot Missing or Misleading Details
Contractors should confirm that their quotes clearly cover:
- Materials are itemized and match the home’s needs
- Underlayment type and thickness are included
- Clearing of the existing roof and proper haul-away
- Warranty and installation timelines are clearly outlined
A transparent proposal = fewer headaches during installation.
Step 3: Ask Clarifying Questions Before You Sign Anything
This is where clients often save money, time, and stress. Contractors should encourage homeowners to ask:
- “How did you calculate the waste factor for my rooftop pitch?”
- “Does the amount include attic ventilation upgrades if needed?”
- “What happens if additional repair work is found under the existing shingles?”
Step 4: Decide if You Should Fix or Replace
This is the big one. Use your quote to determine whether your existing roofing system can be safely repaired or if a complete rooftop replacement is the smarter long-term option.
Generally:
- Minor leaks + good condition = repair
- Widespread damage + aging shingles = replacement
- Poor attic ventilation + mold risk = urgent replacement
- Multiple estimates recommending the same thing = strong sign
Remember: Sometimes a slightly higher upfront amount saves thousands in future maintenance and repairs.
Step 5: Choose the Roofer Who Balances Price + Transparency + Professionalism
Cheap isn’t always affordable, and expensive isn’t always better.
The right roofing team is the one who:
- Explains the written breakdown clearly
- Uses durable structural materials
- Follows local building codes
- Provides insurance, safety measures, and a written warranty
- Offers a fair amount based on rooftop pitch, rooftop type, dimensions, and mounting complexity
- Doesn’t pressure you into signing immediately
> Final Check Before You Give the Go-Ahead
And the last but not least question: Does the quote make sense to YOU?
- You understand what you’re making a payment for
- The materials and labor align with your home’s needs
- The contractor guarantees cleanup and haul-away
- The timeline is reasonable
- Nothing feels unclear or rushed
If yes, go ahead and schedule your new roof installation.
Conclusion
Smart homeowners don’t just glance at a quote; they evaluate it carefully. Contractors who provide transparent quotes, explain costs, and back their work with warranties stand out in a crowded market.
A proper roofing estimate is the contractor’s roadmap to a secure, long-lasting, and worry-free roof. Every step taken now ensures a safer home and a wise long-term investment.
As roofing projects become more complex and homeowners become more informed, accuracy and transparency are no longer optional. The contractors who win consistently are the ones who treat estimating as a system, not a guess.
Remember- A clear estimate today prevents conflict tomorrow, and that’s what keeps projects smooth, profitable, and trusted from start to finish.
About RooferBase
RooferBase is an all-in-one rooftop software built to simplify quotes, measurements, scheduling, and task management. It helps roofing contractors create precise estimates in minutes with automated measurements and professional proposals.
The platform streamlines every workflow, from capturing rooftop photos to managing crews and tracking task expenses. With RooferBase, local roofer run smoother, close more deals, and deliver better cilents experiences.
If you're ready to skip the guesswork? Now's your chance!
Try RooferBase and get fast, accurate measurements and estimates in just a few clicks.
FAQs
1. What should a reasonable rooftop estimate include?
A solid rooftop estimate includes material expenses, labor pricing, waste factor, haul-away fees, timelines, warranties, and cleanup details. It should be itemized and easy to compare across contractors.
2. Why do rooftop estimates vary so much between companies?
Differences come from labor rates, material choices, access, and contractor expertise. Each local roofer calculates expenses based on its crew, overhead, and task complexity.
3. How long is a rooftop mounting estimate valid?
Most estimates stay valid for 30-90 days due to material price fluctuations and seasonal labor shifts. Always check the “estimate expiration” line.
4. Does rooftop pitch affect the total expenses?
Yes, a steeper rooftop requires more safety equipment, more time, and more experienced roofers. This increases both labor and waste factors.
5. Do I need to replace the entire rooftop or just repair it?
If the rooftop has widespread damage, aging shingles, or leaks across multiple areas, replacement is a better option. Minor, localized issues can usually be repaired.
6. How can I compare rooftop contractor estimates effectively?
Review them side by side, check for missing line items, verify warranties, and make sure materials and labor are clearly listed. Avoid suspiciously low bids.