November 15, 2025
"Measure twice, cut once." For roofing contractors, that old saying is an understatement. On a complex job site, a bad roof measurement is more than a headache; it's a direct leak in your bank account.
And when reps are relying on manual calculations to determine a roof's total square footage, it's a gamble. Misjudge the pitch by a fraction of an inch, and your material orders are wrong.
You're either stuck with stacks of unneeded roofing materials or halting the entire job to re-order, costing you time, money, and your customers' trust.
Forget the ladders and guesswork. It's time to get accurate measurements for every house. Let's explore how modern roof measurement reports deliver precise measurements and accurate estimates, helping you save resources and supercharge your sales process.
Roof Measurement Reports: A Step-by-Step Guide for Contractors Saving Time
For modern roofing contractors, saving time is saving money. It is required to move past risky manual calculations on ladders. We’ll show you how to measure roofs from the ground using roof measurement reports.
These detailed reports give you precise measurements for any property, including pitch and total square footage.
This accuracy streamlines your sales process, ensures correct material orders for shingles or a metal roof, and provides instant results that your customers can trust. Let's calculate with confidence.
Key Takeaways
- Inaccurate roof measurements cost contractors dearly through material waste, delays, and lost bids.
- A complete roof measurement includes total area, pitch (slope), and all linear edge lengths.
- Modern technology, such as satellite reports, offers faster, safer, and more accurate results than manual methods.
- Integrating measurement data directly into estimating workflows saves time and eliminates costly errors.
Ready to simplify your measurement process?
Stop climbing ladders and start closing deals faster. With RooferBase, you can order roof measurement reports, create instant estimates, and impress clients with professional accuracy — all in one platform.
What Are Roof Measurements? (And Why "Guesstimates" Are Costing You Money)
Let's break down the measurements of the roof. A professional roof measurement isn't just one number; it's a complete set of data you need to bid, plan, and build a project accurately. Think of it as the blueprint for your job.
It includes three critical parts: Total Area, Roof Pitch, and Linear Measurements. Now, why is a "guesstimate" so dangerous? Roofing measurement errors typically add 7-15% to a project's costs. That money comes directly out of your profit.
Think of it this way:
- Over-ordering based on a guess means you've just bought hundreds (or thousands) of dollars in roofing materials that will sit in your backyard.
- Under-ordering is even worse. It’s a project-killing catastrophe. Your crew is on the roof, the job is 90% done, and you run out of shingles. The entire job grinds to a halt, your crew's labor is wasted for the day, and you're scrambling for an expensive emergency delivery.
An accurate estimate isn't just a number; it's the foundation of your profitability and professionalism.
Construction companies lose an estimated $273 billion annually due to avoidable errors. The numbers paint a grim picture: 25% of construction companies face bankruptcy after just two or three incorrect estimates.
Check out 5 Proposal Templates for Roofing Pros to Increase Win Rates!
Why "Close Enough" Is a Costly Mistake
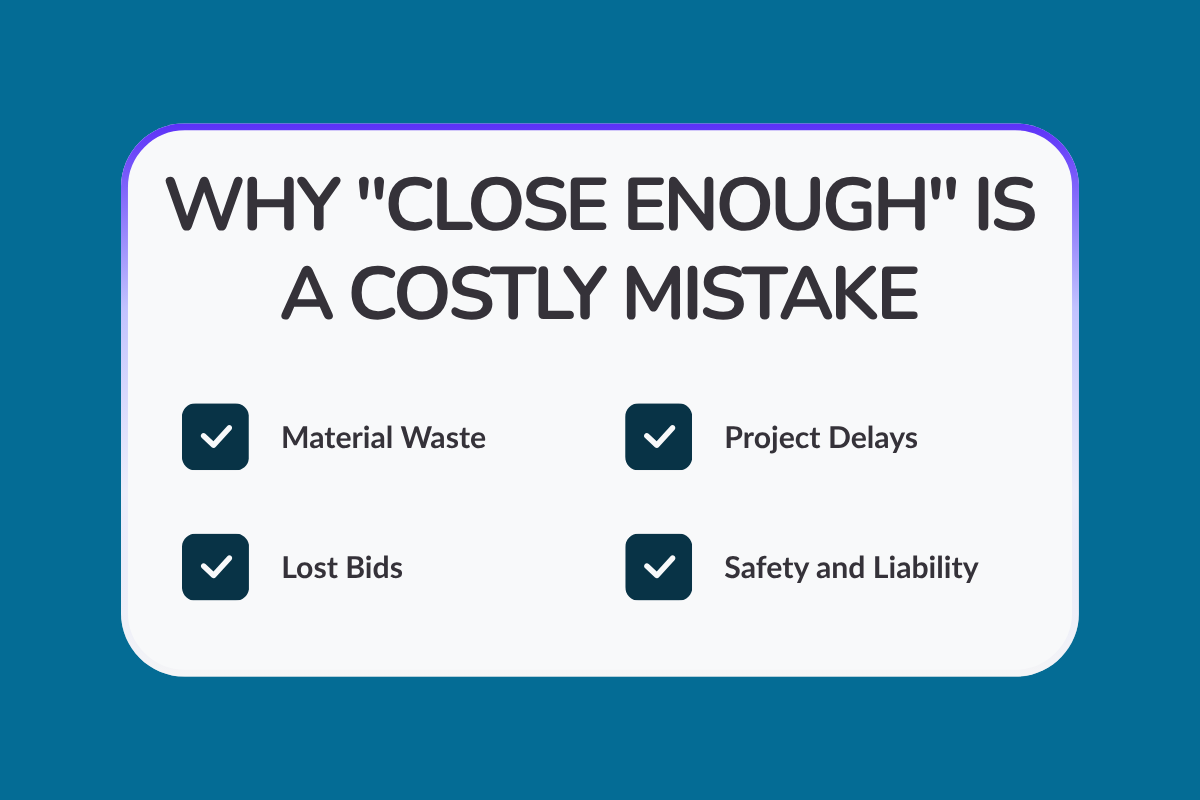
In roofing, "guesstimates" are a direct leak in your profit margin. A sloppy measurement isn't a small hiccup; it's a costly mistake that triggers a domino effect. Here's the true cost of a bad number:
- Material Waste: Inaccurate estimates can significantly impact a job. That’s pure profit gone before your crew even starts.
- Project Delays: Under-ordering is even worse. It grinds the job to a halt, wasting your crew's paid labor and delaying your next project.
- Lost Bids: A "guesstimate" on a piece of paper destroys trust. Contractors who use detailed, accurate proposals close up to 20% more deals.
- Safety & Liability: Every time a salesperson climbs a ladder, you're taking a massive risk. A single OSHA fall protection violation can cost over $16,550, and one worker's comp claim for a fall can average over $100,000.
The Core Concepts: What Are You Actually Measuring?

So, what exactly goes into a proper roof measurement? It's more than just a single number for the square footage.
For roofing contractors seeking accurate estimates and seamless projects, obtaining these key details accurately from the start is crucial. Think of a comprehensive measurement report as the foundation of your project.
Here are the critical components of a roof measurement:
- Total Area: This refers to the overall square footage of the roof surface. This is used to calculate "roofing squares," where one square equals 100 square feet. This number is essential for ordering the main roofing materials, such as shingles or metal roof panels, needed to cover the roof.
- Roof Pitch (Slope): This measures the steepness, often expressed as the rise over run (e.g., 6/12, meaning 6 inches of vertical rise for every 12 inches of horizontal length). The pitch dramatically affects the true roof square footage; a steeper roof needs more materials than a flatter one on the same house footprint. It also dictates safety needs during installation.
- Linear Measurements: Don't forget the edges! These are the total lengths of all the intersections and edges of the roof, measured in linear feet. You need accurate linear measurements for ordering accessory materials, including:
- Eaves (bottom edges, for drip edge)
- Rakes (sloped gable edges, also for drip edge)
- Ridges (the peaks where roof planes meet)
- Hips (the outward-sloping 'corners' on hip roofs)
- Valleys (the 'V' channels where roof planes join)
Getting all these measurements correct ensures your material orders are right, your estimates are accurate, and your projects run smoothly without costly delays or shortages.
Methods to follow for Roof Measurements
Accurate roof measurements are the foundation of precise estimates and successful project planning. Choosing the right method depends on the project’s scale, budget, and available technology, but combining precision with efficiency should always be the ultimate goal.
Let's explore the three methods that are usually adopted:
Method 1: The Traditional "On-Roof" Manual Measurement
This is the classic way it's been done for decades – physically getting up on the roof surface with a tape measure. It requires minimal investment in technology but comes with significant trade-offs, particularly in terms of safety and time.
Tools Needed
To tackle an on-roof measurement, you'll need a basic kit:
- 100-foot Tape Measure: Essential for accurately measuring long lengths, such as ridges and eaves.
- Chalk Line: Helps snap long, straight lines for measuring large, uninterrupted roof planes.
- Sturdy Ladder: Proper height and stability are non-negotiable for safe access.
- Fall Protection: A safety harness and lanyard system compliant with safety regulations is crucial. Never skip this.
- Notepad and Pencil: For sketching the roof layout and recording every single measurement. Don't rely on memory!
The Process: A Step-by-Step Guide
Measuring directly on the roof requires a methodical approach:
Step 1: Safety First, Always: Before anything else, ensure your ladder is securely placed on stable ground. Put on and correctly secure your fall protection gear. This step is critical and could save your life.
Step 2: Sketch the Roof Layout: Find a safe spot and draw a simple, top-down view ("bird's-eye view") of the roof. Don't worry about perfect scale yet; just capture the overall shape.
Step 3: Break It Down: Mentally divide the roof into basic geometric shapes – primarily rectangles and triangles. Think of each roof plane or facet as a separate shape. Label these on your sketch (e.g., Section A, Section B).
Step 4: Measure Rectangular Planes: Carefully measure the length and width of each rectangular or square section. Record these precise measurements directly onto the corresponding section of your sketch. Measure from eave to ridge, and rake to rake (or hip/valley).
Step 5: Measure Triangular Planes (Hips/Gables): For triangular sections, like the end of a hip roof or a small gable dormer, measure the length of the base (usually the eave edge) and the height (from the midpoint of the base straight up to the peak/ridge). Record these.
Step 6: Calculate Area for Each Shape: Now, do the math for each section:
- Rectangles: Area=Length×Width
- Triangles: Area=0.5×Base×Height
Step 7: Sum for Total Square Footage: Add up the calculated areas of all the individual shapes to determine the total square footage. This provides the total square footage of the roof.
Remember, roofing materials like shingles are often ordered in "squares" (1 square = 100 square feet), so divide your total by 100 to determine the number of squares.
Step 8: Measure Linear Feet: This is crucial for determining the quantity of accessory materials. Physically walk and measure the length of every shingle:
- Ridge (the peaks)
- Valley (the 'V' intersections)
- Hip (the outward-sloping 'corners')
- Eave (the bottom edges, usually where gutters are)
- Rake (the sloped edges on gable ends). Record these lengths separately.
Step 9: Calculate and add the Waste Factor: No installation is perfectly efficient. You will waste material due to cuts, overlaps, starter courses, and potential mistakes. Add a "suggested waste factor" to your total square footage:
- Simple Gable Roofs: Add 10%
- More Complex Hip Roofs/Cut-up Roofs: Add 15% or even slightly more.
Pros & Cons
- Pros:
- Requires no specialized software or digital tools, just basic measuring equipment.
- Allows for a direct, physical inspection of the roof surface condition while measuring.
- Cons:
- Extremely Dangerous: Falls are the leading cause of death in the construction industry. Getting on a roof, especially a steep or unfamiliar one, carries significant risk.
- Very Time-Consuming: This entire process can take hours, especially on larger or more complex residential roofs. This is time not spent on other parts of your business or sales process.
- Prone to Human Error: Misreading a tape measure, slight calculation mistakes, or forgetting to measure a small dormer can easily happen, leading to inaccurate estimates and incorrect material orders.
Feel the burn of material costs rising? Understand How to Update Your Estimates Fast!
Method 2: The "From-the-Ground" Manual Measurement
Recognizing the dangers of on-roof work, this method offers a significantly safer alternative by utilizing measurements taken from the ground, combined with a bit of geometry.
Tools Needed
You'll need slightly different tools for this approach:
- 100-foot Tape Measure: Still needed for measuring the building's perimeter.
- Notepad and Pencil: For recording measurements and calculations.
- Roof Pitch Gauge: This can be a physical angle finder, a level combined with your tape measure, or a smartphone app that uses the camera and internal sensors.
The Process: A Step-by-Step Guide
1. Measure the Building Footprint: Walk around the base of the house and measure the length and width of the exterior walls. Calculate this ground-level area (Length x Width).
2. Account for Overhangs: Roofs typically extend beyond the walls at the eaves. Measure the width of this overhang (e.g., 1 foot, 2 feet) and add twice that amount to both the length and width measurements of your footprint.
- Example: A 40' x 30' house with a 1' overhang effectively has a roof footprint base of 42' x 32'. Calculate the area of this adjusted footprint.
3. Determine the Roof Pitch: This is the most critical step for accuracy. Use your pitch gauge or app to find the roof's slope (the rise in inches for every 12 inches of horizontal run). Do this for each major roof section if pitches vary.
4. Apply the "Pitch Multiplier": This mathematical formula converts your flat footprint area into the actual, sloped roof surface area. Find your roof's pitch in the table below and multiply your adjusted footprint area by the corresponding factor:
| Roof Pitch (Rise/Run) | Multiplier |
|---|---|
| 3/12 | 1.031 |
| 4/12 | 1.054 |
| 5/12 | 1.083 |
| 6/12 | 1.118 |
| 7/12 | 1.158 |
| 8/12 | 1.202 |
| 9/12 | 1.250 |
| 10/12 | 1.302 |
| 11/12 | 1.357 |
| 12/12 | 1.414 |
- For example, if your adjusted footprint area is 1,500 sq. ft. and the roof pitch is 8/12, the calculation is: 1,500 ft.×1.202=1,803sq × 1.202 = 1,803 sq. ft. (This is your estimated total roof square footage).
- Don't Forget Waste: Just like the on-roof method, you must add your 10-15% suggested waste factor to this calculated roof area to determine your final material order quantity.
Pros & Cons
- Pros:
- Significantly Safer: Keeps your team off the roof and eliminates fall risks associated with measuring.
- Faster than On-Roof: Measuring the perimeter and determining the pitch is generally quicker than measuring each individual plane.
- Cons:
- Prone to Calculation Errors: Relies heavily on accurate pitch determination and the correct application of the multiplier. An error here significantly impacts the final square footage.
- Difficult for Linear Measurements: It's almost impossible to accurately measure the lengths of hips, valleys, and sometimes even ridges from the ground, especially on complex roofs. This can lead to guesswork for accessory materials.
- Less Accurate on Complex Roofs: Homes with multiple dormers, varying pitches, or unusual shapes are challenging to calculate precisely using only the footprint and a single multiplier.
Method 3: The Modern Tech Toolbox (Satellite, Aerial & Drones)
This is where the roofing industry has undergone a dramatic shift. Leveraging technology like RooferBase provides unparalleled speed, safety, and accuracy, transforming the estimating and sales processes for roofing contractors to obtain roof measurement reports.
How Satellite & Aerial Measurement Reports Work
This is now the go-to method for countless roofing companies seeking instant results and precise measurements.
- What it is: These are services (often web-based or via an app) that utilize high-resolution imagery captured by satellites or drones (aerial imagery). This imagery is far more detailed and geometrically accurate than what you might see on standard online maps.
- The Process: It's incredibly simple:
- Enter the property address into the service's platform.
- Confirm the location on the map.
- Select the type of detailed report you need (e.g., roof only, full exterior).
- Place your report order (costs typically range from $10-$60 per report).
- Within a short turnaround time (often minutes to a few hours), a comprehensive PDF measurement report is delivered to your account or email.
- What You Get: A highly detailed report, often including:
- A 3D model rendering of the roof.
- Total roof area calculated in squares and total square footage.
- The precise pitch is identified for every single roof facet.
- Accurate linear measurements for all ridges, valleys, hips, eaves, and rakes.
- Sometimes includes wall measurements, window/door counts, etc., depending on the report type.
- You can often download a sample report from providers to see the level of detail.
- Pros:
- Fastest Method: Delivers results far quicker than any manual process. Great for saving time.
- Completely Safe: Requires zero access to the roof or even the property itself.
- Highly Accurate: Reputable services boast accuracy rates of 98-99% or even higher.
- Professional Presentation: Using these reports in your proposals significantly boosts credibility with homeowners.
- Data for Accurate Estimates: Provides all the numbers needed for both square footage materials (shingles, metal roof panels) and linear accessory materials.
How Drone Photogrammetry Works
For the utmost accuracy, especially on large commercial projects or complex residential properties, drones offer another high-tech solution.
- What it is: This involves flying a drone equipped with a high-resolution camera over the roof in a pre-programmed grid pattern. The drone captures hundreds, sometimes thousands, of overlapping, geotagged photos. Specialized software then processes these images ("photogrammetry") to create an extremely precise, measurable 3D model of the roof.
- Pros:
- Highest Possible Accuracy: Can achieve accurate measurements down to the inch or even fractions thereof.
- Detailed Visual Record: Captures high-definition images of the entire roof surface condition, invaluable for inspections, documentation, and identifying potential issues beyond just measurements. Some systems even use AI to automatically flag damage.
- Cons:
- Requires Investment: A suitable drone (cost varies) and photogrammetry software (subscription-based).
- Requires Expertise: Needs a licensed pilot (FAA Part 107 certification in the U.S.) trained in flying these specific mapping missions. Processing the data also requires some technical skill.
- Slower Turnaround than Satellite: Flight time plus data processing time means it's not as "instant" as ordering a satellite report, though still faster than manual.
Choosing the right method depends on your company's resources, the types of projects you handle, and your priorities regarding speed, safety, and accuracy. However, the trend is clearly moving towards technology-driven solutions for efficiency and professionalism.
Explore more about Digital Roof Inspections: Drones and Software Tools.
Beyond the Measurement: The Workflow Is What Matters
Obtaining a fast and accurate satellite or aerial roof measurement report is a significant advantage. You get precise measurements without the danger or delay of climbing onto the roof. However, obtaining the report is only the first step.
The Problem: The Manual Data Re-Entry
You receive that detailed report – great! However, now someone has to manually retype every number: total squares, pitch, linear feet for ridges, valleys, and eaves... into your estimating spreadsheet or quoting tool.
This takes time and introduces the risk of typos. One wrong digit can mess up your entire material order or accurate estimate, costing you money or even the job.
The Solution: An Integrated Workflow
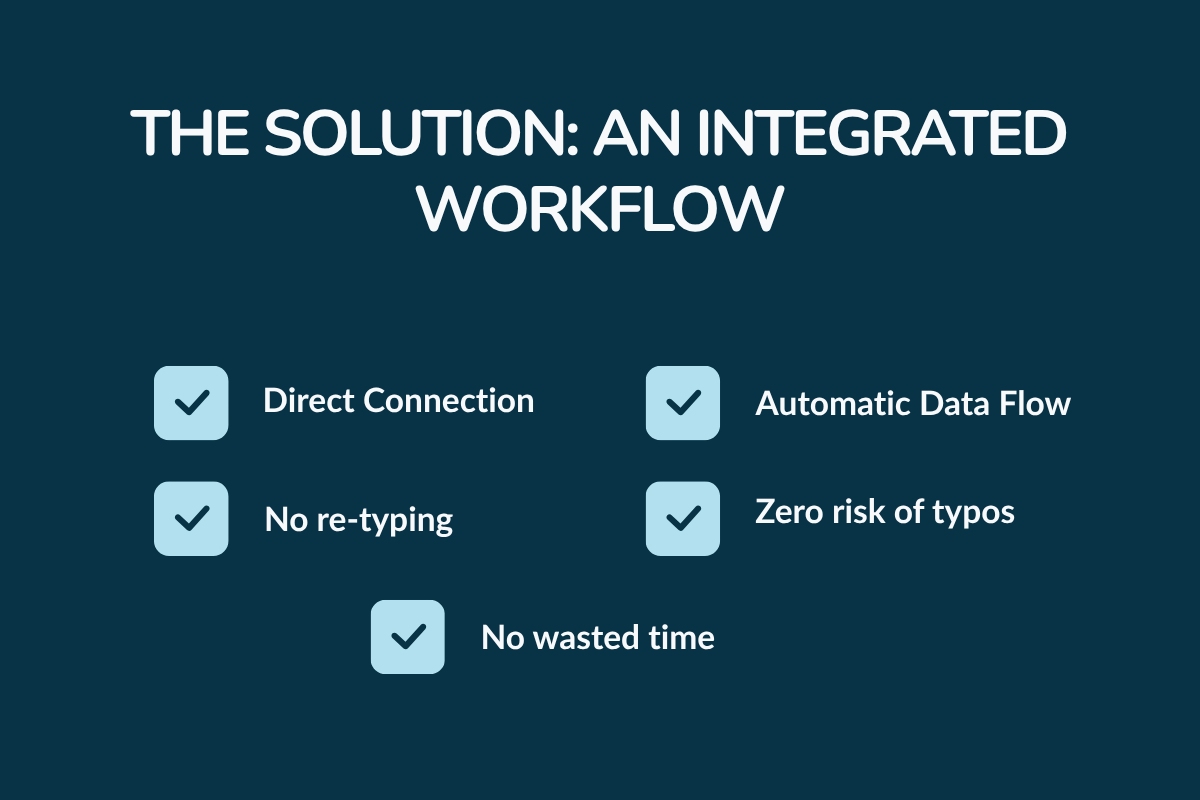
This is where modern roofing platforms make a massive difference. Systems like RooferBase don't just help you order reports; they automatically integrate the data.
- Order Inside: Request measurement reports directly within the platform.
- Data Flows Automatically: Key measurements populate your estimate template instantly when the report is delivered.
- Benefits:
- No re-typing saves hours.
- Eliminates costly data entry errors.
- Let your team create professional quotes much faster.
This integrated approach converts accurate measurements into immediate, actionable data, saving time and enabling your sales process to focus on customers, rather than tedious calculations.
How RooferBase Turns Your Measurements into Money
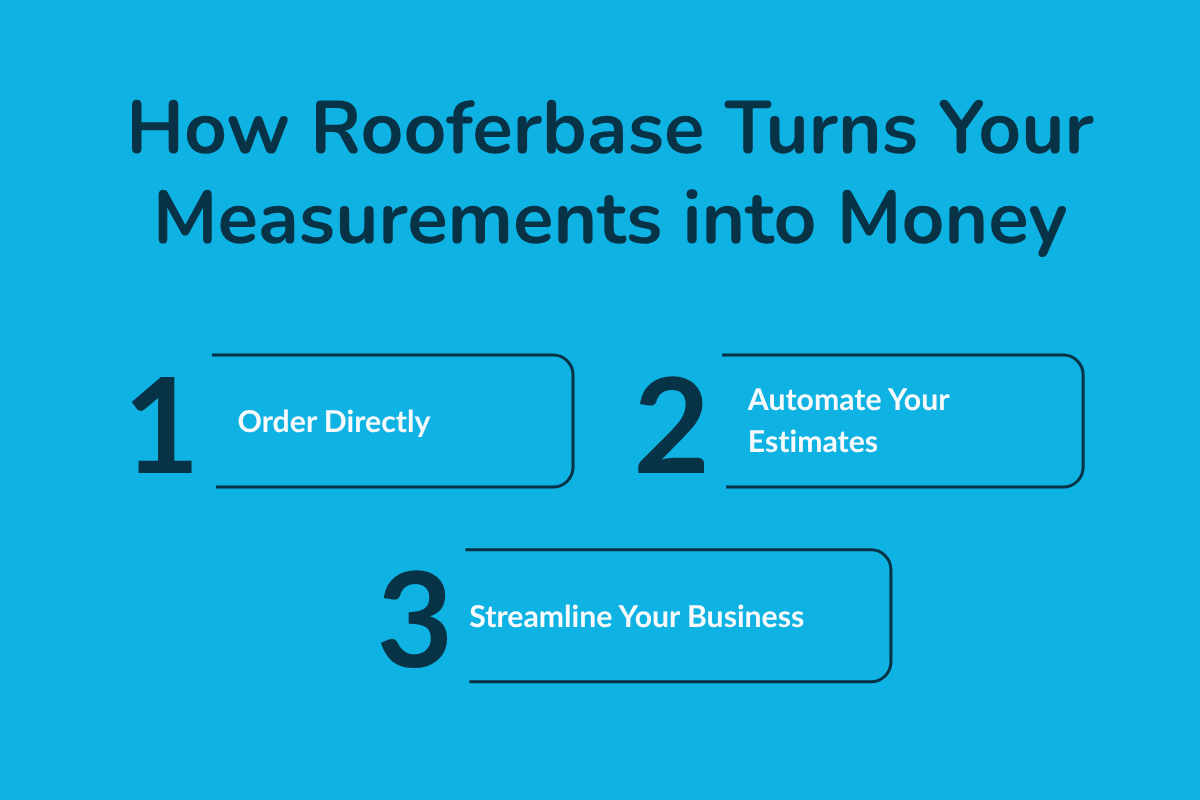
An accurate measurement report is powerful, but only if you can use it efficiently. RooferBase is designed to bridge the gap between getting precise roof data and turning it into profitable action, eliminating the time-consuming manual steps that slow down your sales process.
Here's how RooferBase helps you leverage measurements more effectively:
- Centralized Ordering: Access and order detailed roof measurement reports from trusted providers directly within the RooferBase platform, keeping all your project information in one place.
- Error-Free Estimate Creation: Say goodbye to manual data entry. Key measurement details automatically populate your estimate templates, ensuring accuracy and slashing quote creation time.
- Seamless Project Workflow: The data doesn't stop at the estimate. It flows through to material lists, job scheduling, and invoicing, ensuring consistency from bid to final payment.
- Real-Time Accuracy Checks: RooferBase cross-verifies dimensions and area calculations to prevent costly material overruns or underestimations.
- Automated Measurement Import: Instantly pull roof measurements from blueprints, satellite imagery, or drone scans directly into your project dashboard, no manual data entry needed.
By integrating measurements into a connected system, RooferBase helps you create accurate proposals more quickly, streamline operations, and ultimately convert precise data into increased revenue.
Wrapping It Up
Getting roof measurements right isn't just about avoiding mistakes; it's about building a more profitable and professional roofing business.
While manual methods have their own benefits and comfort, modern technology, such as satellite reports, offers unmatched speed, safety, and accuracy.
Remember, the measurement itself is just the starting point. The real efficiency gain comes from integrating that precise data directly into your workflow, eliminating manual entry and streamlining everything from estimate creation to material ordering.
Embrace accuracy and automation; it's the key to saving time, winning more jobs, and boosting your bottom line.
About RooferBase
Ready to stop wasting time on manual data entry and start winning more jobs? RooferBase integrates precise roof measurements directly into your estimates and project workflows.
Schedule your free demo today and see how much faster your sales process can be!
FAQs
What are the measurements of a roof? Title or Question
Roof measurements include the total area (in square footage), pitch (slope), and the linear lengths of ridges, valleys, hips, and eaves.
Can I get roof measurements from Google Maps?
Google Maps can provide rough estimates, but it isn't accurate enough for professional bids due to the use of angled images and the difficulty in calculating pitch.
What does 17 squares mean in roofing?
17 squares means the roof's total surface area is 1,700 square feet. One square in roofing equals 100 square feet.